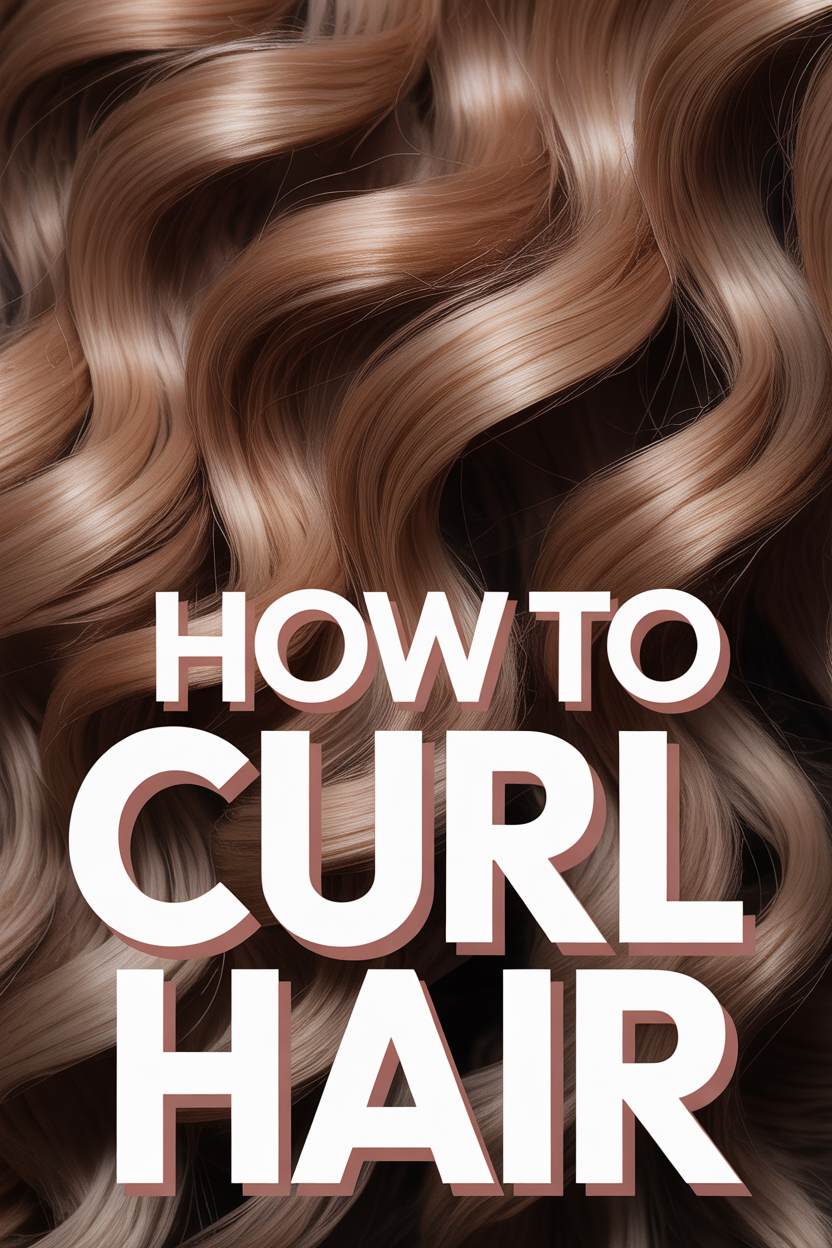
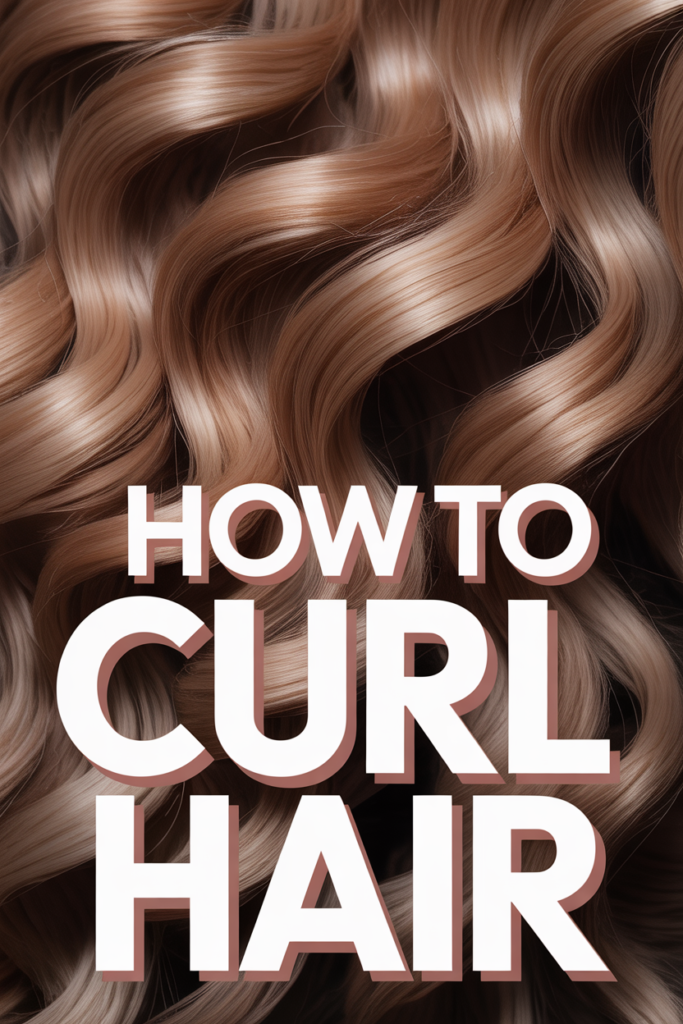
➰ How To Curl Hair
💄 The Everyday Glamour Routine
You do not need to spend hundreds of dollars at Sephora to achieve a flawless, airbrushed finish. Professional makeup artists secretly rely on these 5 incredible, highly-rated viral drug store dupes and tools to create stunning looks that last all day.
✨ e.l.f. Power Grip Primer
The undisputed holy grail of primers that broke the internet. The unique gel-based formula literally 'grips' onto your foundation, blurring pores and completely preventing your makeup from melting off, creasing, or fading for up to 14 hours.
💧 Real Techniques Miracle Complexion Sponges
Stop applying liquid foundation with brushes that leave streaks. When used slightly damp, these ultra-soft, latex-free sponges seamlessly bounce liquid products into your skin for an incredibly natural, dewy, 'no-makeup' finish.
🖤 Maybelline Sky High Lengthening Mascara
You don't need expensive lash extensions. This wildly popular formula features a flexible tower brush that bends to volumize and extend every single tiny lash from root to tip without flaking, smudging, or weighing your eyes down.
🌟 L'Oreal True Match Lumi Glotion
The ultimate secret for that radiant 'glass skin' look. Use it alone for a sheer, healthy tint on no-makeup days, or mix a tiny drop into your foundation to instantly add an incredibly expensive-looking, natural luminosity to your face.
🌋 Revlon Oil-Absorbing Volcanic Roller
The modern replacement for messy blotting papers. Made from real volcanic stone, this tiny tool fits perfectly in your purse. Simply roll it across your T-zone to instantly absorb excess shine without messing up the makeup underneath.
Transforming your look with beautiful, bouncy curls is an art form that adds incredible versatility and flair to any style. Whether you’re aiming for soft waves for a casual day out, glamorous spirals for a special occasion, or simply want to add volume and texture, mastering the art of curling your hair can unlock a world of confidence and creative expression. This comprehensive guide will walk you through every essential step, demystifying the process and empowering you to achieve salon-quality curls right in your own home.
Quick Overview
This guide will equip you with the knowledge and techniques to create stunning, long-lasting curls, tailored to your hair type and desired style. You’ll learn how to properly prepare your hair, select the right tools, execute precise curling methods, and finish your look for maximum impact and longevity.
- Time needed: 30-75 minutes (depending on hair length, thickness, and desired curl style)
- Difficulty: Beginner
- What you’ll need:
- Curling iron or curling wand (various barrel sizes recommended)
- Heat protectant spray
- Hair clips or sectioning clips
- Paddle brush or wide-tooth comb
- Strong-hold hairspray
- Optional: Heat-resistant glove, setting clips
Step-by-Step Instructions
Step 1: Gather Your Tools and Prepare Your Hair
Before you even think about heat, ensure all your necessary tools are within arm’s reach. This includes your curling iron or wand, heat protectant, hairspray, clips, and a brush. Having everything organized will streamline the process and prevent interruptions. Start with completely dry hair. Curling wet or even damp hair can cause significant damage, as the water inside the hair shaft can boil, leading to breakage. Brush your hair thoroughly to remove any tangles. This creates a smooth canvas, allowing the curling tool to glide effortlessly and ensuring even heat distribution. Next, generously apply a high-quality heat protectant spray throughout your hair, from roots to ends. This crucial step creates a barrier between your hair and the heat, minimizing damage, reducing frizz, and helping your curls last longer. Allow the protectant to dry for a minute or two before proceeding.
Pro tip: For extra volume at the roots, apply a volumizing mousse or root lifter to damp hair before blow-drying, then follow with heat protectant on dry hair.
Step 2: Section Your Hair for Precision
Proper sectioning is the cornerstone of uniform and professional-looking curls. It ensures every strand receives adequate heat and attention, preventing missed spots or uneven results. Using a rat-tail comb or your fingers, divide your hair into manageable sections. A common and effective method is to create three to four horizontal sections: bottom, middle, and top. Start by clipping up the top and middle sections, leaving only the bottom layer of hair down. This bottom section is typically the first one you’ll curl. As you work your way up, release subsequent sections. Within each larger section, you’ll take smaller, 1-2 inch subsections to curl. The size of these smaller subsections will directly impact the tightness and longevity of your curls – smaller sections yield tighter curls, while larger sections create looser waves.
Pro tip: Use sturdy clips that can hold your hair securely. Metal duckbill clips or plastic claw clips work best for keeping sections isolated.
Step 3: Choose Your Curling Tool and Technique
The type of curling tool and the technique you employ will largely dictate the final look of your curls. A curling iron with a clamp offers more control and is excellent for defined, classic curls, while a curling wand (tapered or cylindrical, without a clamp) is ideal for more natural, beachy waves or looser, undone styles. Consider the barrel size: a smaller barrel (e.g., 0.75-1 inch) creates tighter curls, while a larger barrel (e.g., 1.25-1.5 inches) produces looser waves and more volume. Set your curling tool to the appropriate temperature. Fine or damaged hair requires lower heat (250-300°F), while thick or coarse hair can handle higher temperatures (350-400°F). Never exceed 400°F as it can cause irreversible damage. Allow your tool to fully heat up before beginning.
Pro tip: For a more natural look, alternate the direction of your curls (away from your face, then towards your face) with each subsection. For a more uniform, glamorous look, curl all sections in the same direction, typically away from your face.
Step 4: Begin the Curling Process
Take a 1-2 inch subsection of hair from your lowest section. For a curling iron, open the clamp, place the very end of your hair under the clamp, and then roll the iron upwards towards your scalp, wrapping the hair around the barrel. Ensure the hair is wrapped smoothly and flat against the barrel, avoiding overlaps which can lead to uneven heating. For a curling wand, hold the wand with the tip pointing downwards. Wrap the subsection of hair around the barrel, starting from the root or mid-shaft and wrapping downwards towards the ends, ensuring you hold the ends against the hot barrel (a heat-resistant glove is highly recommended here). Hold the hair on the heat for 5-10 seconds, depending on your hair type and the desired curl intensity. Thicker hair or tighter curls may require slightly longer, but never hold for more than 15 seconds to prevent damage.
Pro tip: When using a curling iron, if you want softer ends, leave the last inch or so of your hair out of the clamp. For a more polished look, curl the ends completely.
Step 5: Release and Set Each Curl
Once you’ve held the hair on the heat for the appropriate time, gently release it from the curling tool. If using a curling iron, open the clamp and carefully slide the iron out, allowing the curl to fall into its natural spiral. If using a curling wand, simply unwrap the hair from the barrel. To ensure maximum longevity and definition, it’s crucial to allow the curl to cool completely in its coiled shape. You can do this by letting it cool in your palm for a few seconds before letting it drop. For even better hold, especially if your hair struggles to retain curls, gently re-coil the warm curl with your fingers and secure it to your scalp with a setting clip or bobby pin. This “pinning” technique allows the curl to set as it cools, locking in its shape more effectively.
Pro tip: Avoid touching or brushing the curls while they are still warm. This will cause them to fall flat and lose their shape. Patience during the cooling phase is key!
Step 6: Repeat for Remaining Sections
Continue this process, working through your hair section by section, and subsection by subsection. Maintain consistency in the size of your subsections and the direction of your curls (if you’ve chosen a specific pattern). As you finish one larger section, unclip the next layer of hair and continue curling. Pay particular attention to the hair around your face; these curls are often the most visible and frame your features. Ensure they are curled away from your face for an open, flattering look. Take your time to ensure each curl is formed correctly and allowed to cool properly. Rushing this step can lead to uneven results and curls that quickly fall out.
Pro tip: For a softer, more blended look, adjust the starting point of your curl. Curling closer to the root creates more volume and lift, while starting further down the mid-shaft creates a more relaxed, lived-in wave.
Step 7: Allow Curls to Cool Completely
This step is non-negotiable for lasting curls. Once all your hair has been curled and, ideally, pinned, resist the urge to immediately run your fingers through it or brush it. The cooling process is when the hydrogen bonds in your hair reform, “setting” the curl into its new shape. If you’ve pinned your curls, leave them pinned for at least 10-15 minutes, or even longer if you have the time (up to an hour for maximum hold). If you haven’t pinned them, simply let them hang freely and cool down naturally. You’ll notice the curls feel more firm and resilient once they’ve fully cooled. This waiting period ensures that your hard work doesn’t unravel within minutes of stepping out the door.
Pro tip: While your curls are cooling, you can do your makeup or choose your outfit. This makes the waiting time productive!
Step 8: Gently Break Up and Style Your Curls
Once your curls are completely cool, it’s time to transform them from tight spirals into your desired style. If you pinned your curls, carefully unclip each one. Then, using your fingers or a wide-tooth comb (never a brush at this stage, unless you’re aiming for a very soft, brushed-out wave), gently separate and loosen the curls. For a more voluminous look, flip your head upside down and gently shake your hair at the roots, then finger-comb. For softer, more glamorous waves, gently pull down on the ends of the curls to elongate them slightly. You can also use your fingers to blend the curls together, creating a cohesive, natural flow. Avoid over-combing, as this can cause frizz and undo the definition you’ve worked hard to create.
Pro tip: For extra volume and texture, apply a texturizing spray or dry shampoo at the roots and mid-lengths after breaking up the curls.
Step 9: Lock in Your Look with Hairspray
The final and crucial step is to set your beautiful curls with a good quality hairspray. Choose a hairspray with a flexible to strong hold, depending on your hair type and how long you need your curls to last. Hold the can about 10-12 inches away from your head and mist evenly over your entire curled style. Avoid spraying too close or using too much product, as this can make your hair stiff, crunchy, or weighed down. For extra hold, you can lift sections of hair and spray underneath. A final light mist will help protect your curls from humidity and ensure they stay bouncy and defined throughout the day or night. You can also finish with a shine spray for added luster, if desired.
Pro tip: For a more natural finish, opt for a flexible-hold hairspray. If you need your curls to withstand a long event or humid conditions, a medium to strong-hold spray will be your best friend.
Common Mistakes to Avoid
-
Using Too Much Heat: While heat is necessary to create curls, excessive temperatures (especially above 400°F) can severely damage your hair, leading to breakage, split ends, and dullness. Each hair type has a different tolerance. Always start with the lowest effective heat setting.
Correct Approach: Always use a heat protectant and select a temperature appropriate for your hair type (lower for fine/damaged, higher for thick/coarse). Test on a small, inconspicuous section first.
-
Curling Wet or Damp Hair: Applying a hot tool to wet hair causes the water within the hair shaft to boil, creating steam and potentially exploding the hair cuticle. This is known as “sizzling” and causes extreme, irreversible damage.
Correct Approach: Ensure your hair is 100% dry before applying any heat styling tools. If you’ve just washed it, blow-dry it thoroughly.
-
Not Using Heat Protectant: Skipping heat protectant is like going out in the sun without sunscreen. It leaves your hair vulnerable to direct heat damage, making it dry, brittle, and prone to breakage over time, even with proper heat settings.
Correct Approach: Always apply a generous amount of heat protectant spray or cream to all sections of your dry hair before curling. This creates a protective barrier.
-
Brushing Curls Too Soon or Too Vigorously: When curls are still warm, their shape is fragile. Brushing them at this stage will cause them to fall flat, lose definition, and potentially create frizz instead of smooth waves.
Correct Approach: Allow curls to cool completely before touching them. Once cool, gently separate them with your fingers or a wide-tooth comb. Only use a brush if you specifically want a soft, brushed-out wave.
-
Inconsistent Sectioning and Technique: Rushing through sections or using varying sizes and curling directions can lead to an uneven, messy, and unprofessional look, with some curls tight and others barely there.
Correct Approach: Take the time to properly section your hair. Use consistent subsection sizes and apply the same curling technique (e.g., wrap direction, hold time) to each piece for a uniform and polished result.
Troubleshooting
-
My Curls Don’t Hold:
- Solution 1: Ensure your hair is completely dry and has a good grip. Sometimes very clean, silky hair struggles to hold a curl. Try adding a texturizing spray or dry shampoo before curling.
- Solution 2: Increase the hold time slightly (but not excessively) and ensure each curl cools completely in its coiled shape (pinning them up helps immensely).
- Solution 3: Use a stronger hold hairspray as a finishing step, and consider misting a light hairspray on each section before curling.
-
My Hair Looks Frizzy After Curling:
- Solution 1: Make sure your hair is completely dry before curling. Any residual moisture can cause frizz.
- Solution 2: Ensure you are using heat protectant, which often contains anti-frizz properties.
- Solution 3: Avoid over-touching or brushing curls while they’re warm. Once cool, use an anti-frizz serum or a light finishing oil on your hands before gently separating the curls.
-
Curls Look Unnatural or Stiff:
- Solution 1: You might be holding the heat for too long or using too high a temperature. Reduce both.
- Solution 2: You might be using too much hairspray or a hairspray that’s too strong. Opt for a flexible-hold spray and mist lightly from a distance.
- Solution 3: After cooling, gently break up the curls more thoroughly with your fingers or a wide-tooth comb to soften them. Flipping your head upside down and shaking can also help create a more natural bounce.
Key Takeaways
- Preparation is Paramount: Always start with dry, detangled hair and generously apply heat protectant.
- Sectioning is Key: Divide hair into manageable sections for even, consistent curls.
- Choose Your Tools Wisely: Select the correct barrel size and heat setting for your desired look and hair type.
- Patience During Cooling: Allow curls to cool completely, ideally pinned, to lock in their shape and longevity.
- Gentle Finishing: Break up curls with fingers or a wide-tooth comb, then set with a light mist of hairspray.
- Avoid Common Pitfalls: Don’t use excessive heat, curl wet hair, or brush too soon.
Frequently Asked Questions
Q: How long do curls typically last?
A: This varies greatly depending on your hair type, the curling technique, and the products used. Fine, straight hair may only hold curls for a few hours, while thicker, more textured hair can hold them for 1-2 days. Using heat protectant, hairspray, and letting curls cool completely will significantly extend their life.
Q: What’s the difference between a curling iron and a curling wand?
A: A curling iron has a clamp that holds the hair in place while you wrap it around the barrel, making it easier for beginners and great for defined curls. A curling wand has no clamp; you manually wrap the hair around the barrel, which often results in more natural, beachy waves with a less uniform look. Wands typically require a heat-resistant glove.
Q: Can I curl short hair?
A: Absolutely! Shorter hair can be curled to add volume, texture, or a playful bounce. Opt for a smaller barrel curling iron or wand (e.g., 0.5 to 1 inch) to ensure you can wrap your hair around it effectively. Focus on curling away from the face for a flattering look.
Q: How can I protect my hair from heat damage when curling regularly?
A: Consistent heat protection is vital. Always use a high-quality heat protectant. Opt for lower heat settings whenever possible. Consider using a deep conditioning mask once a week to replenish moisture and repair damage. Limit how often you heat style, and give your hair breaks.
What’s Next?
Now that you’ve mastered the fundamentals of curling your hair, the possibilities are endless! Experiment with different barrel sizes to achieve varying curl patterns—from tight ringlets to loose, romantic waves. Explore advanced techniques like curling hair in different directions for a more textured, lived-in look, or try specific styles such as Hollywood waves or beachy curls. Consider investing in quality hair care products tailored for heat-styled hair, including nourishing masks and shine serums, to keep your curls looking vibrant and healthy. Don’t be afraid to practice and discover what works best for your unique hair type and desired aesthetic. Your journey to beautiful, versatile hair has just begun – pick up your tools and create some magic today!