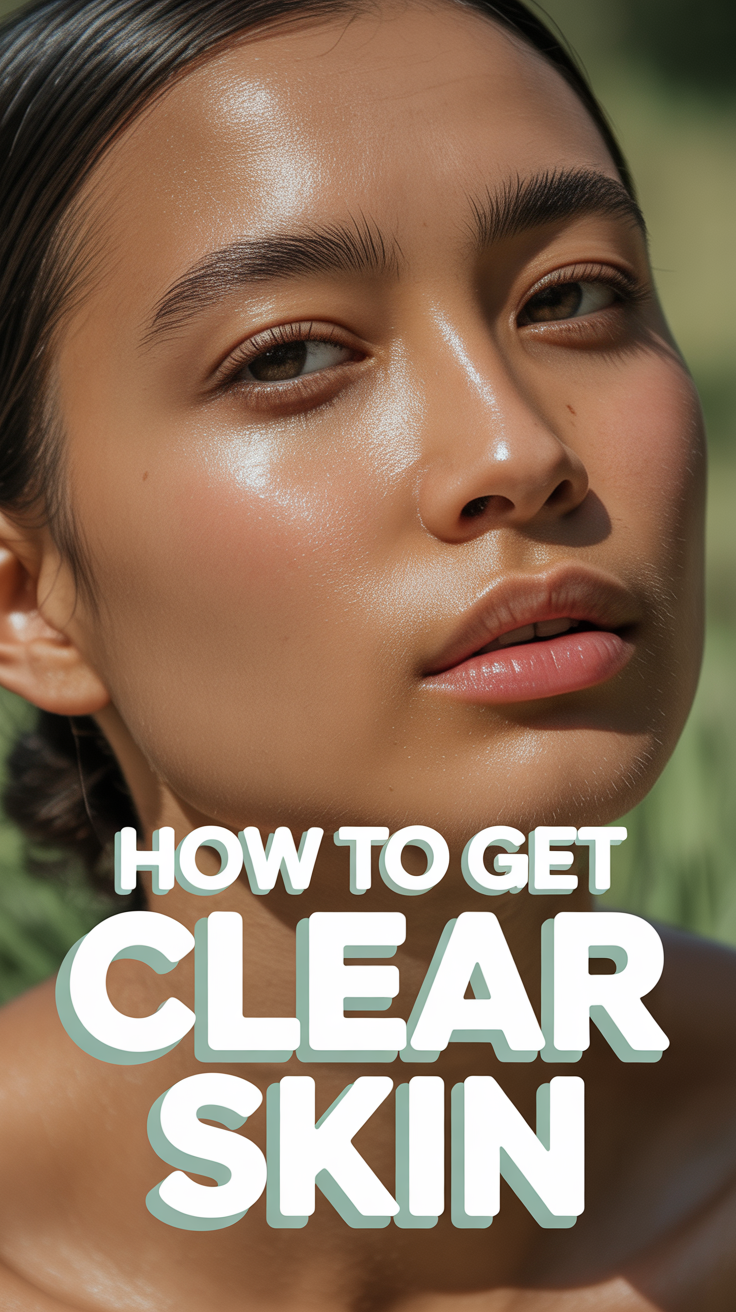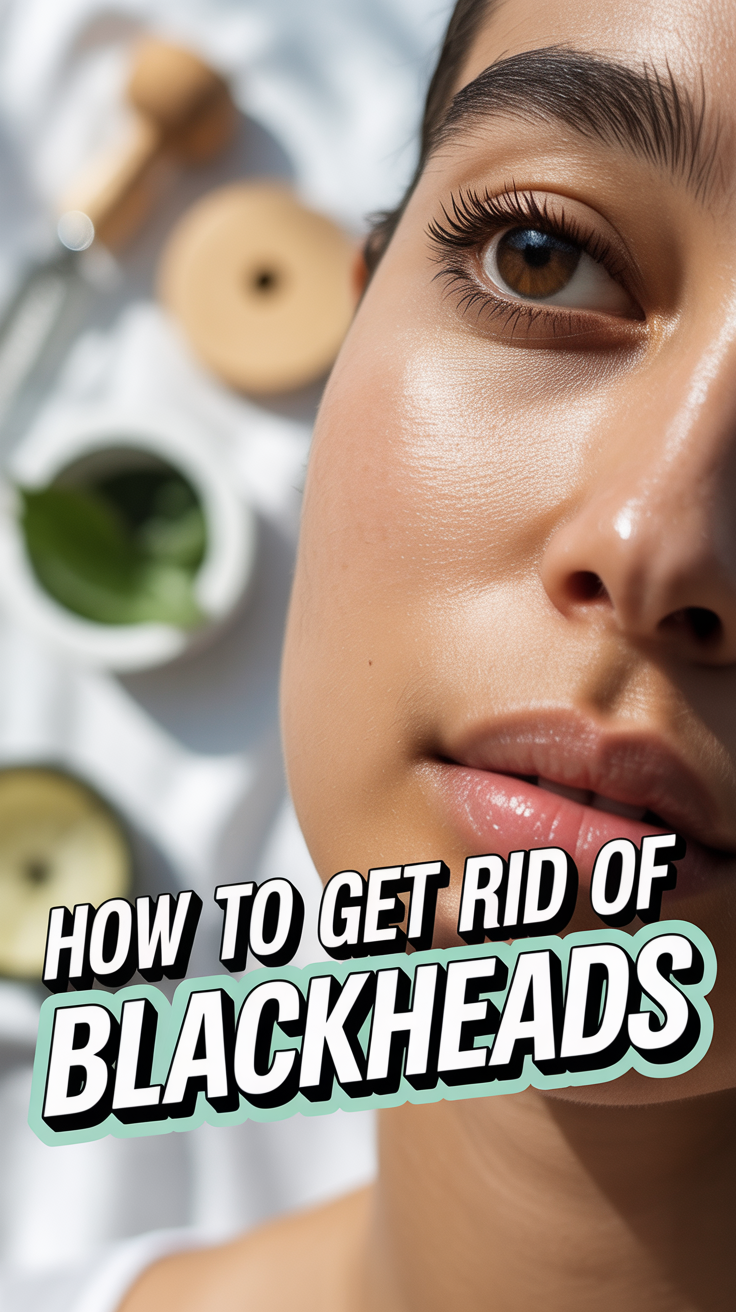
✨ How To Get Rid Of Blackheads
💄 The Everyday Glamour Routine
You do not need to spend hundreds of dollars at Sephora to achieve a flawless, airbrushed finish. Professional makeup artists secretly rely on these 5 incredible, highly-rated viral drug store dupes and tools to create stunning looks that last all day.
✨ e.l.f. Power Grip Primer
The undisputed holy grail of primers that broke the internet. The unique gel-based formula literally 'grips' onto your foundation, blurring pores and completely preventing your makeup from melting off, creasing, or fading for up to 14 hours.
💧 Real Techniques Miracle Complexion Sponges
Stop applying liquid foundation with brushes that leave streaks. When used slightly damp, these ultra-soft, latex-free sponges seamlessly bounce liquid products into your skin for an incredibly natural, dewy, 'no-makeup' finish.
🖤 Maybelline Sky High Lengthening Mascara
You don't need expensive lash extensions. This wildly popular formula features a flexible tower brush that bends to volumize and extend every single tiny lash from root to tip without flaking, smudging, or weighing your eyes down.
🌟 L'Oreal True Match Lumi Glotion
The ultimate secret for that radiant 'glass skin' look. Use it alone for a sheer, healthy tint on no-makeup days, or mix a tiny drop into your foundation to instantly add an incredibly expensive-looking, natural luminosity to your face.
🌋 Revlon Oil-Absorbing Volcanic Roller
The modern replacement for messy blotting papers. Made from real volcanic stone, this tiny tool fits perfectly in your purse. Simply roll it across your T-zone to instantly absorb excess shine without messing up the makeup underneath.
Blackheads, those pesky small, dark spots that often appear on the nose, chin, and forehead, are a common skin concern for many. Scientifically known as open comedones, they are a mild form of acne caused by hair follicles becoming clogged with excess sebum (oil), dead skin cells, and bacteria. Unlike whiteheads, blackheads are open at the surface, which exposes the trapped debris to air, causing it to oxidize and turn dark – hence the name.
While frustrating, blackheads are entirely manageable with the right approach and consistent care. This comprehensive guide will walk you through a professional and effective step-by-step routine to not only help you get rid of existing blackheads but also implement strategies to prevent new ones from forming. We’ll explore the tools and products you’ll need, detailed instructions for each phase of treatment, expert tips, common mistakes to avoid, and answers to frequently asked questions. By the end of this article, you’ll be equipped with the knowledge and confidence to achieve clearer, healthier-looking skin.

What You’ll Need
Before embarking on your blackhead removal journey, gathering the right tools and products is essential. Opting for non-comedogenic (products that won’t clog pores) and gentle formulations will ensure you treat your skin effectively without causing irritation.
- Gentle Cleanser: A mild, pH-balanced cleanser, ideally containing salicylic acid (BHA) or glycolic acid (AHA) for their exfoliating properties.
- Warm Water: For cleansing and steaming.
- Soft, Clean Towel: For patting your face dry.
- Facial Steamer or Large Bowl: To open up pores.
- Exfoliating Toner: A BHA (salicylic acid) or AHA (glycolic/lactic acid) toner to further break down pore blockages.
- Cotton Pads: For applying toners and liquid exfoliants.
- Clay or Charcoal Mask: To draw out impurities and absorb excess oil.
- Comedone Extractor (Optional, with Caution): A sterile, stainless steel tool designed for blackhead removal. Use with extreme care and only after consulting a professional or understanding proper technique.
- Non-Comedogenic Moisturizer: To hydrate and protect your skin barrier without clogging pores.
- Broad-Spectrum Sunscreen (SPF 30+): Essential for daily protection, especially after exfoliating treatments.
- Antiseptic Solution (Optional): For post-extraction care if you choose to use a comedone extractor.
Step-by-Step Instructions
Follow these steps carefully to effectively and safely address blackheads. Consistency and gentleness are paramount to achieving the best results without damaging your skin.
Step 1: Gentle Cleansing for a Clean Slate
The foundation of any effective skincare routine begins with thorough cleansing. This step removes surface dirt, oil, and makeup, preparing your skin for deeper treatment.
- Wash Your Hands: Always start with clean hands to prevent transferring bacteria to your face.
- Wet Your Face: Splash your face with lukewarm water. Avoid hot water, as it can strip your skin of natural oils and cause irritation.
- Apply Cleanser: Dispense a small amount of your gentle cleanser into your palms.
- Massage Gently: Using your fingertips, gently massage the cleanser onto your face in circular motions for about 60 seconds, paying particular attention to areas prone to blackheads (nose, chin, forehead). If using a cleanser with salicylic or glycolic acid, allow it to sit on the skin for a moment to let the active ingredients work.
- Rinse Thoroughly: Rinse your face completely with lukewarm water, ensuring no cleanser residue remains.
- Pat Dry: Gently pat your face dry with a clean, soft towel. Avoid rubbing, which can irritate the skin.
Step 2: Open Pores with Steaming
Steaming helps to soften the hardened sebum and dead skin cells trapped within your pores, making them easier to dislodge. This step is crucial for effective extraction and deep cleansing.
- Prepare Your Steam:
- Facial Steamer: If you have a facial steamer, fill it with distilled water and follow the manufacturer’s instructions. Position your face comfortably above the steam outlet.
- Hot Water Bowl: Alternatively, boil water and carefully pour it into a large, heat-safe bowl. Lean over the bowl, keeping your face about 8-12 inches away from the hot water. Drape a clean towel over your head and the bowl to create a tent, trapping the steam.
- Steam Your Face: Steam for 5-10 minutes. Take breaks if the heat becomes too intense. The goal is to gently warm and soften the skin, not to scald it.
- Pat Dry (Again): After steaming, gently pat your face dry with a clean towel. Your skin should feel soft and slightly damp.
Step 3: Chemical Exfoliation for Deeper Penetration
Chemical exfoliants, specifically Beta Hydroxy Acids (BHAs) like salicylic acid, are excellent for blackheads because they are oil-soluble, meaning they can penetrate through sebum to dissolve the clogs deep within the pore. Alpha Hydroxy Acids (AHAs) like glycolic or lactic acid work on the skin’s surface to loosen dead skin cells.
- Choose Your Exfoliant: For blackheads, a BHA-based toner or serum (typically 1-2% salicylic acid) is often most effective. If your skin is sensitive, a lower concentration or an AHA product might be a better starting point.
- Apply with Cotton Pad: Dispense the exfoliating toner onto a cotton pad.
- Swipe Gently: Gently swipe the cotton pad over your entire face, focusing on blackhead-prone areas. Avoid the immediate eye area.
- Allow to Absorb: Let the product fully absorb into your skin for a few minutes before moving to the next step. Do not rinse it off.
- Frequency: For an intensive treatment, you might do this step. For daily maintenance, you can use a BHA toner 2-3 times a week, gradually increasing frequency if your skin tolerates it well.
Step 4: Deep Cleanse with a Purifying Mask
Clay and charcoal masks are renowned for their ability to draw out impurities, excess oil, and toxins from the skin, making them ideal for tackling blackheads and refining pores.
- Apply the Mask: Using clean fingers or a clean mask brush, apply an even layer of your clay or charcoal mask to your face, avoiding the eye and lip areas. Focus on areas with blackheads.
- Allow to Dry: Leave the mask on for the duration recommended on the product packaging, usually 10-15 minutes, or until it has dried. You’ll often feel a tightening sensation as it dries.
- Rinse Off: Once dry, thoroughly rinse the mask off with lukewarm water. You might find it helpful to use a soft, damp cloth to gently assist in removal. Ensure all traces of the mask are gone.
- Pat Dry: Gently pat your face dry with a clean, soft towel.
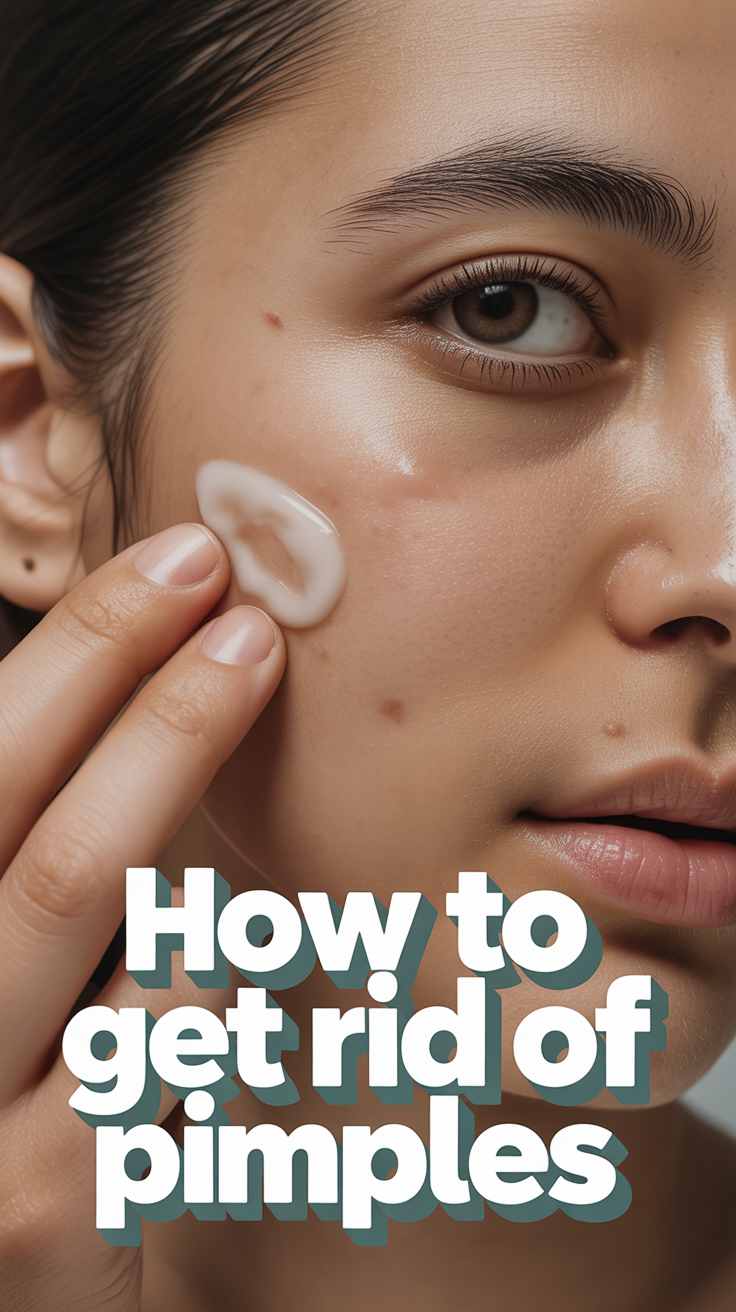
Step 5: Gentle Extraction (Optional and Highly Cautious)
This step is optional and should be approached with extreme caution. Improper extraction can lead to skin damage, infection, scarring, and push the blackhead deeper, potentially turning it into a pimple. It is always recommended to seek professional extraction from a dermatologist or licensed esthetician. If you choose to proceed, do so very gently and only for blackheads that are easily dislodged.
- Sterilize Your Tool: If using a comedone extractor, sterilize it with rubbing alcohol before and after each use.
- Position the Tool: Place the loop end of the extractor around the blackhead, ensuring the blackhead is in the center of the loop.
- Apply Gentle Pressure: Gently and slowly press down on the skin surrounding the blackhead, applying even pressure. A slight rolling motion can sometimes help. The blackhead should come out easily.
- Stop Immediately If Resistance: If the blackhead does not emerge with minimal, gentle pressure, DO NOT FORCE IT. Forcing will cause trauma to the skin. It means the blackhead isn’t ready for extraction, or it’s too deep. Leave it alone to prevent irritation or scarring.
- Cleanse Post-Extraction: After successful extraction, gently wipe the area with a cotton pad soaked in a mild antiseptic solution or a soothing, alcohol-free toner to prevent infection.
- Avoid Finger Squeezing: Never use your fingers or fingernails to squeeze blackheads. This introduces bacteria, can push debris deeper, and almost always leads to inflammation, bruising, or scarring.
Step 6: Soothe and Tone
After deep cleansing and potential extraction, your pores are open and your skin might be slightly vulnerable. This step helps to rebalance the skin’s pH, calm any irritation, and prepare it for hydration.
- Choose a Soothing Toner: Select an alcohol-free, hydrating, and soothing toner. Ingredients like witch hazel (alcohol-free version), rose water, green tea extract, or niacinamide are excellent for calming the skin and providing antioxidant benefits.
- Apply with Cotton Pad or Hands: Dispense the toner onto a fresh cotton pad and gently swipe it over your face, or simply pat it in with clean hands.
- Allow to Absorb: Let the toner fully absorb into your skin.
Step 7: Hydrate and Protect
Moisturizing is a critical, often overlooked step in blackhead management. Skipping moisturizer can trick your skin into producing more oil to compensate for dryness, potentially leading to more blackheads. Sun protection is also vital, especially after using exfoliating acids.
- Apply Non-Comedogenic Moisturizer: Take a pea-sized amount of your non-comedogenic moisturizer and gently massage it evenly over your face and neck. Look for ingredients like hyaluronic acid or ceramides, which provide hydration without clogging pores.
- Apply Broad-Spectrum Sunscreen: During the day, always follow up with a broad-spectrum sunscreen with an SPF of 30 or higher. This protects your skin from harmful UV rays, which can exacerbate hyperpigmentation and hinder skin healing, especially after exfoliation.
Step 8: Maintain Consistency and Patience
Blackheads don’t disappear overnight, and prevention is an ongoing process. Regularity in your skincare routine is key to long-term success.
- Establish a Routine: Aim to perform the intensive steps (steaming, mask, exfoliation, optional extraction) once or twice a week, depending on your skin’s tolerance. Daily, stick to cleansing, toning, moisturizing, and sun protection.
- Be Patient: It takes time for skin to respond and regenerate. You might start seeing significant improvements in a few weeks, but complete clearance and sustained results require consistent effort over months.
- Listen to Your Skin: If your skin feels irritated, dry, or sensitive, reduce the frequency of active treatments or switch to gentler products.
Pro Tips
Beyond the core routine, incorporating these expert tips can further enhance your results and maintain clear skin.
- Prioritize Pillowcase Hygiene: Your pillowcase accumulates oil, dead skin cells, and bacteria from your face and hair. Change your pillowcase at least twice a week to prevent reintroducing impurities to your skin while you sleep.
- Mind Your Diet and Hydration: While the link isn’t fully understood, some studies suggest a diet high in refined sugars and dairy may contribute to acne for some individuals. Focus on a balanced diet rich in fruits, vegetables, and lean proteins. Additionally, drinking plenty of water helps keep your skin hydrated from within, supporting its natural functions.
- Hands Off Your Face: Resist the urge to constantly touch, pick, or lean on your face. Your hands carry dirt, oil, and bacteria that can easily transfer to your skin, leading to clogged pores and breakouts.
- Don’t Over-Exfoliate: While exfoliation is crucial, too much of a good thing can be detrimental. Over-exfoliating with harsh physical scrubs or using chemical exfoliants too frequently can strip your skin’s natural barrier, leading to irritation, redness, and even increased oil production as your skin tries to compensate. Stick to the recommended frequency.
- Consider Professional Help: If you’ve tried various at-home methods and are still struggling with persistent blackheads, don’t hesitate to consult a dermatologist or licensed esthetician. They can offer professional extractions, prescribe stronger topical treatments, or suggest in-office procedures like microdermabrasion or chemical peels tailored to your skin’s needs.
Common Mistakes to Avoid
Knowing what not to do is just as important as knowing what to do when treating blackheads. Avoiding these common pitfalls will protect your skin and optimize your results.
- Squeezing with Fingers or Fingernails: This is arguably the most common and damaging mistake. Squeezing with unsterilized fingers can introduce bacteria, cause inflammation, push the blockage deeper, and lead to bruising, broken capillaries, or permanent scarring.
- Aggressive Scrubbing or Over-Exfoliation: Harsh physical scrubs with large, irregular particles can create micro-tears in the skin, compromising its barrier and leading to irritation, redness, and sensitivity. Over-using chemical exfoliants can also damage the skin’s protective layer.
- Excessive Use of Pore Strips: While pore strips can temporarily remove superficial blackheads, they don’t address the root cause and can be harsh on the skin. Overuse can lead to irritation, enlarged pores (due to stretching), and even strip away healthy skin cells.
- Skipping Moisturizer: Believing that oily or blackhead-prone skin doesn’t need moisturizer is a myth. Dehydrated skin often produces more oil to compensate, potentially worsening blackheads. Always use a lightweight, non-comedogenic moisturizer.
- Using Comedogenic Products: Many makeup, skincare, and hair care products contain ingredients that can clog pores. Always check labels for “non-comedogenic” or “non-acnegenic” to ensure they won’t contribute to blackhead formation.
- Expecting Instant Results: Skincare takes time and consistency. Becoming discouraged and abandoning a routine after a few days or weeks because you don’t see immediate, dramatic results is a common mistake. Give your skin adequate time to respond to treatment.
FAQ
Q1: Are pore strips effective for getting rid of blackheads?
Pore strips can offer a temporary, satisfying visual of removed blackheads, as they physically pull out the superficial plugs from pores. However, they only address the very top layer of the blackhead and don’t prevent new ones from forming. Overuse can also be irritating to the skin, potentially leading to redness or even dilated capillaries. For long-term solutions, chemical exfoliants and consistent cleansing are more effective.
Q2: How often should I perform this intensive blackhead removal routine?
For the intensive steps involving steaming, masking, and optional extraction, it’s generally recommended to perform this routine no more than once or twice a week, depending on your skin’s sensitivity and how it reacts. Daily maintenance should focus on gentle cleansing, toning, moisturizing, and sun protection. Listen to your skin; if you notice any irritation, reduce the frequency.
Q3: Can blackheads turn into pimples?
Yes, blackheads can indeed evolve into more inflamed forms of acne, such as pimples or pustules. A blackhead is essentially a clogged pore. If bacteria (specifically P. acnes, now known as C. acnes) infiltrate this clogged pore and multiply, it can trigger an inflammatory response, leading to redness, swelling, and the formation of a pimple.
Q4: What if these at-home methods aren’t working for me?
If you’ve consistently followed a diligent at-home routine for several weeks or months and are still struggling with persistent or severe blackheads, it’s highly advisable to consult a dermatologist. They can offer professional treatments such as prescription-strength retinoids, in-office chemical peels, microdermabrasion, or professional extractions, which may be more effective for stubborn cases.
✨ The Ultimate Skin & Hair Care Kit
The best makeup in the world cannot hide poorly treated skin or damaged hair. If you want to glow from the inside out, these 5 science-backed formulations and trusted tools are the absolute essential core of any functional, results-driven beauty regimen.
🐌 COSRX Snail Mucin 96% Repair Essence
The Korean skincare secret that completely revolutionized Western beauty routines. Applying this deeply hydrating, lightweight essence absolutely transforms dull, textured skin overnight into a plump, hydrated, and insanely smooth canvas.
🧪 Paula's Choice 2% BHA Liquid Exfoliant
Stop aggressively scrubbing your face. This gentle, leave-on chemical exfoliant sinks deep into pores to dissolve blackheads, visibly shrink enlarged pore size, and effectively erase stubborn acne breakouts without leaving your skin red or irritated.
🩹 Mighty Patch Original Hydrocolloid Stickers
The ultimate emergency fix. When you feel a massive blemish forming, do not pop it! Stick one of these medical-grade patches on overnight and watch it completely absorb all the impurities while protecting the skin from scarring.
💨 Revlon One-Step Volumizer Hot Air Brush
Achieve a massive bouncy, salon-quality blowout at home in literally half the time. This ingenious tool dries, brushes, and heavily volumizes your hair all at once, completely saving your arms from the exhausting juggle of a round brush and heavy dryer.
💧 Olaplex No. 7 Bonding Hair Oil
If you use heat tools or color your hair, this is non-negotiable. This highly concentrated, weightless styling oil instantly tames frizz, dramatically increases shine, and actually repairs broken hair bonds while providing up to 450°F heat protection.
Conclusion
Blackheads, while a common and often frustrating skin concern, are by no means a permanent fixture. By understanding their formation and adopting a disciplined, gentle, and consistent skincare routine, you can significantly reduce their appearance and prevent new ones from forming. The key lies in thorough cleansing, effective exfoliation, deep pore purification, and diligent hydration and protection.
Remember, patience is a virtue in skincare. Results won’t appear overnight, but with dedication to the steps outlined in this guide, you can empower yourself to achieve a clearer, smoother, and healthier complexion. Be kind to your skin, avoid harsh treatments, and don’t hesitate to seek professional guidance if needed. Your journey to blackhead-free skin is within reach.