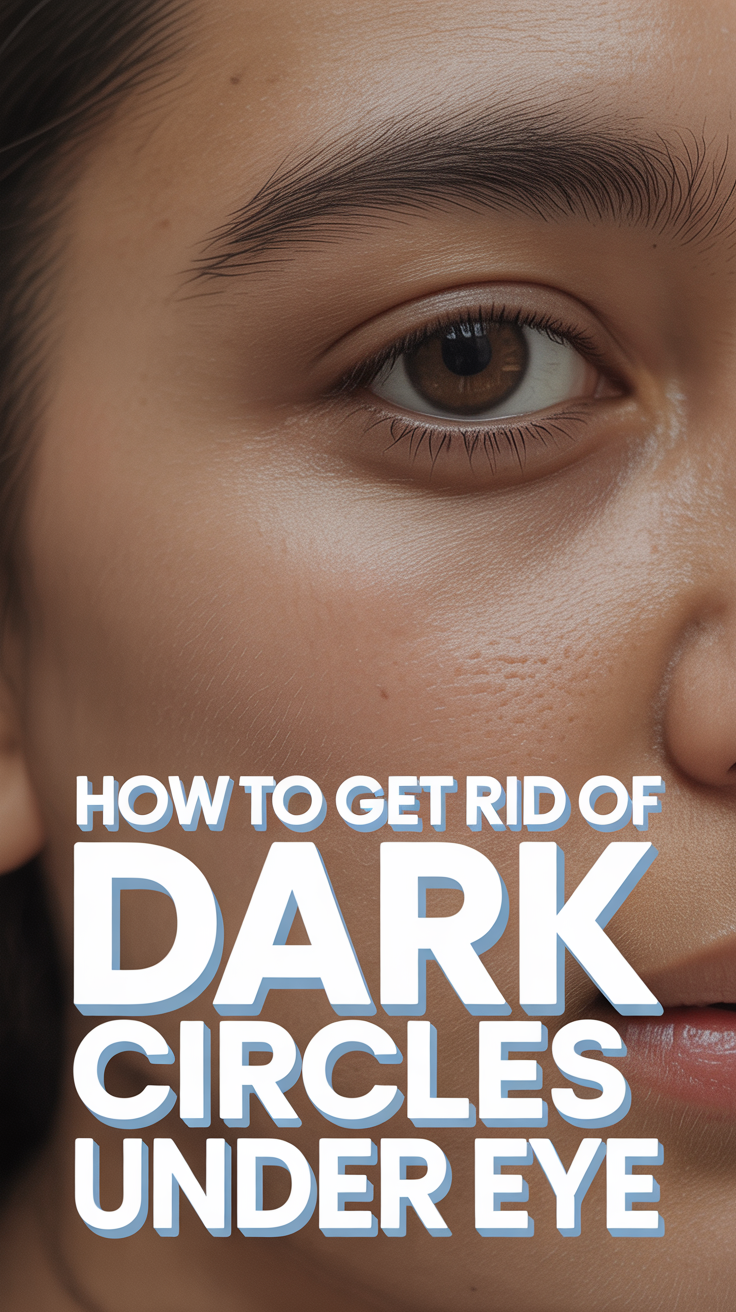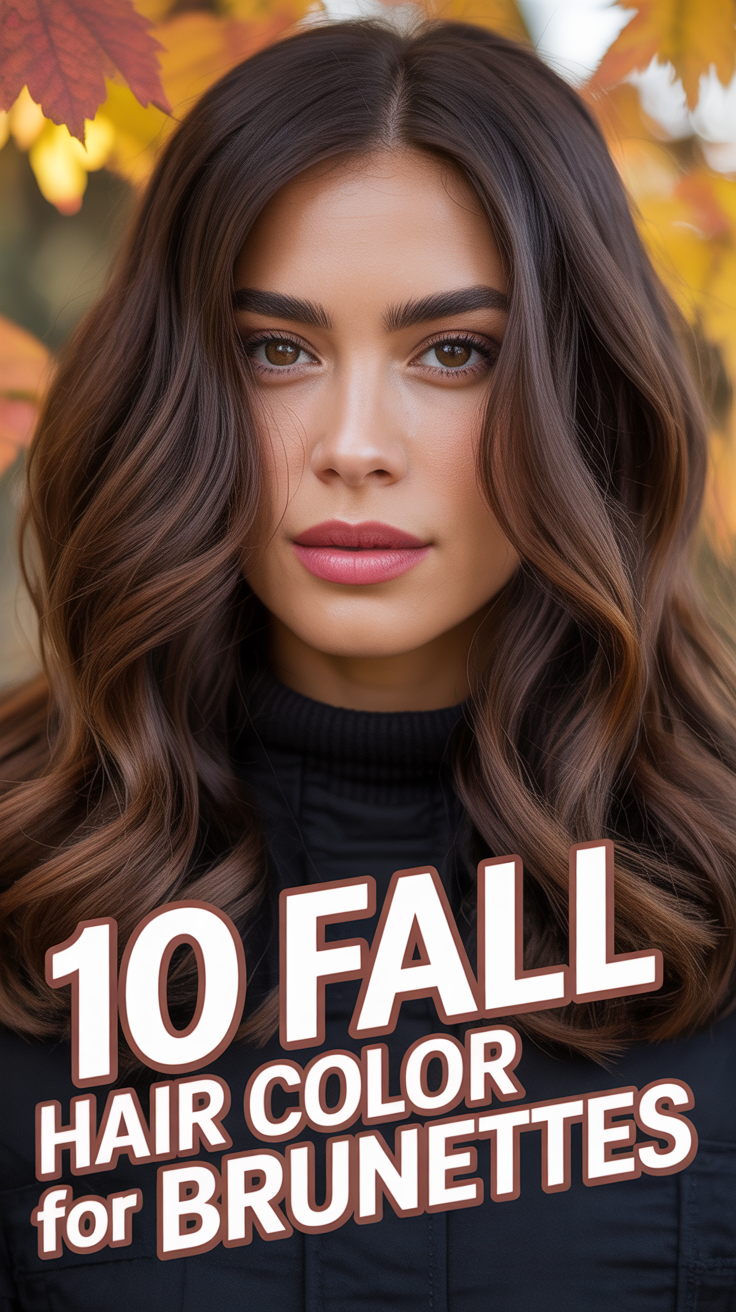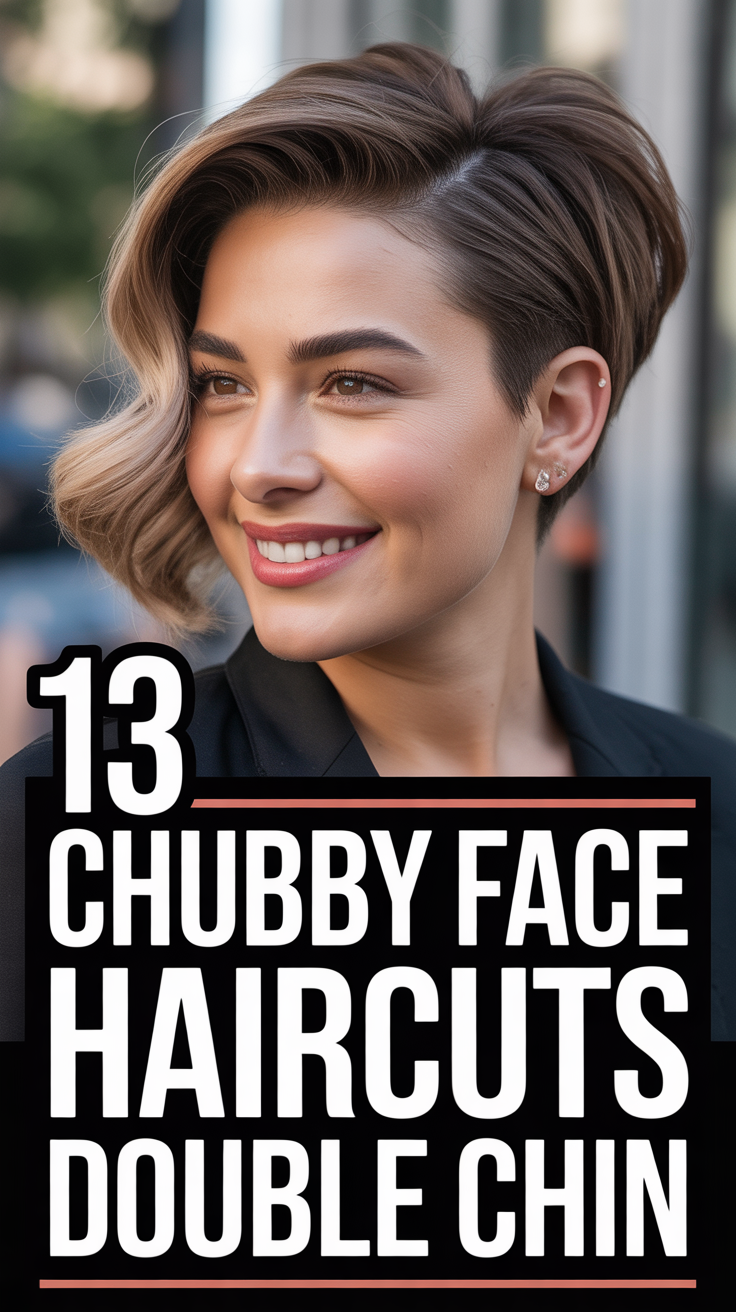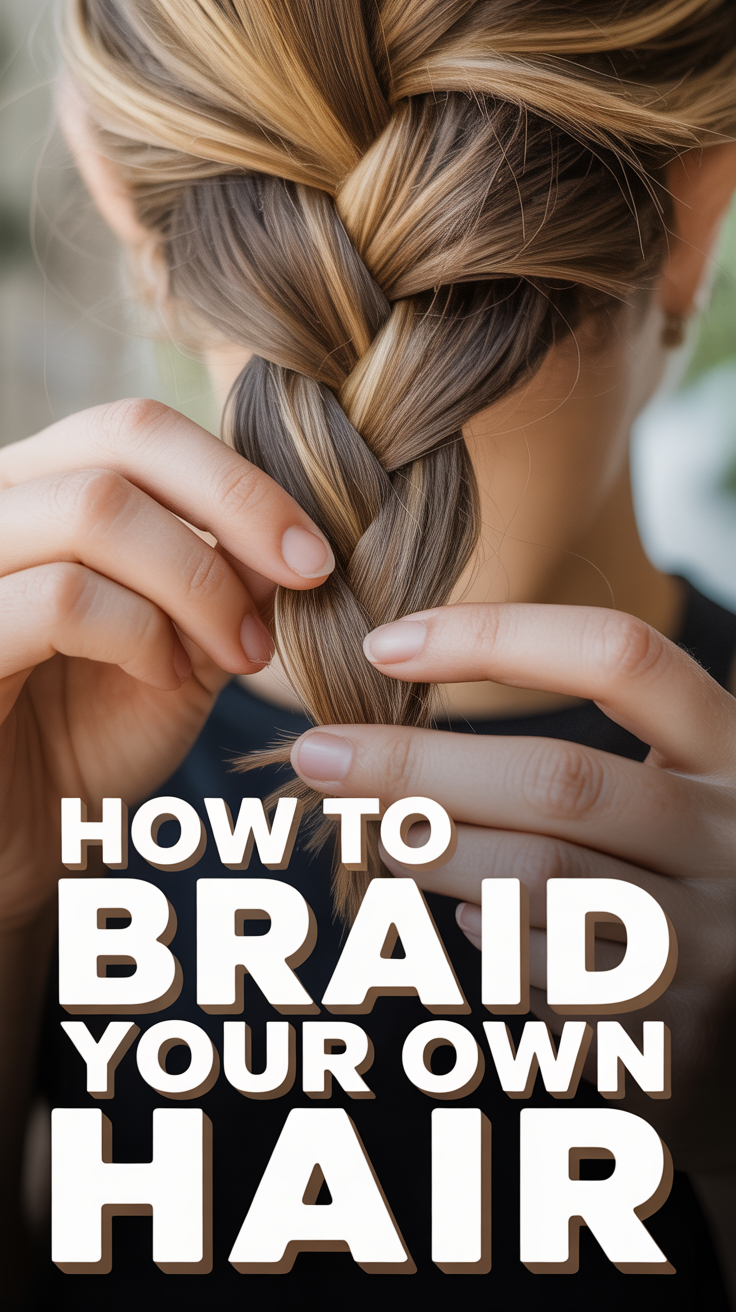
🤵 How To Braid Your Own Hair
Learning to braid your own hair is an incredibly rewarding skill that opens up a world of styling possibilities. From casual everyday looks to elegant updos, braids are timeless, versatile, and suitable for almost any occasion. While it might seem daunting at first, especially when working with the back of your head, mastering the art of self-braiding is entirely achievable with patience, practice, and the right guidance. Imagine effortlessly creating beautiful, intricate styles without needing a salon appointment or the help of a friend!
This comprehensive guide will walk you through everything you need to know to become your own personal braiding expert. We’ll start with the essentials, cover fundamental braiding techniques like the classic three-strand, the elegant French, and the striking Dutch braid, and equip you with professional tips to elevate your results. By the end of this article, you’ll have the confidence and knowledge to tackle a variety of braided styles, transforming your hair into a canvas for your creativity. Get ready to embrace the satisfaction of crafting stunning braids with your own two hands!

What You’ll Need
Before you dive into the world of self-braiding, gathering the right tools will make the process much smoother and more enjoyable. Think of these as your essential kit for achieving salon-quality results at home.
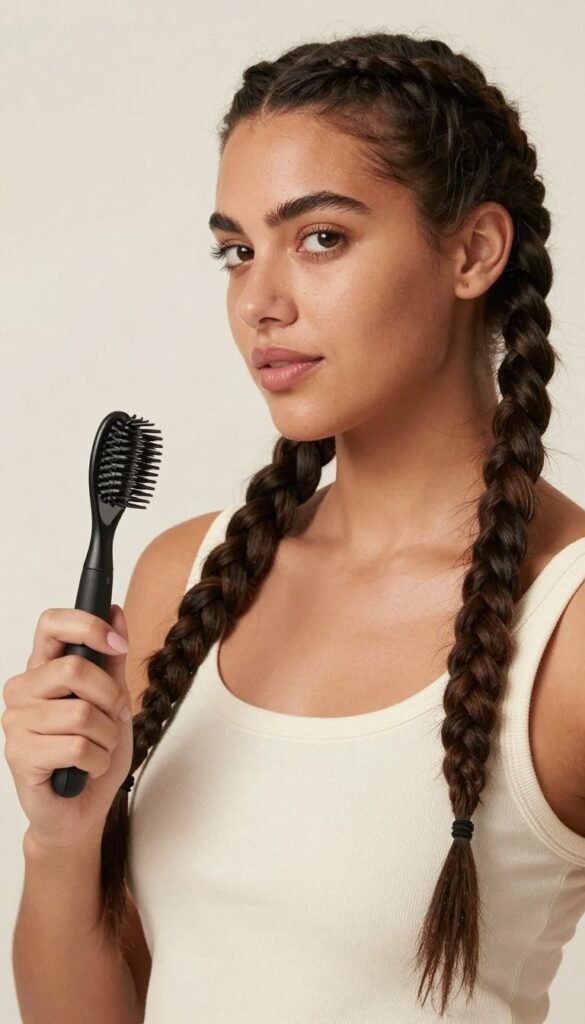
- Hairbrush or Wide-Tooth Comb: Essential for detangling your hair thoroughly before you begin. This prevents knots and ensures smooth, even sections.
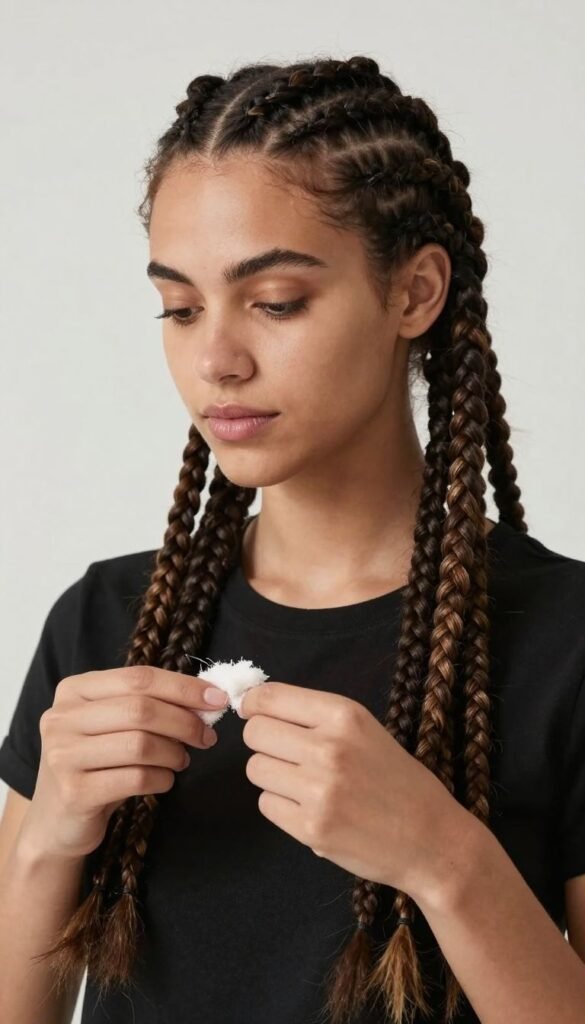
- Hair Ties or Elastics: Small, clear elastic bands are ideal for securing the ends of your braids without being too noticeable. Larger hair ties are good for sectioning off hair you’re not currently working with.
- Spray Bottle with Water: Lightly dampening your hair can provide better grip, reduce flyaways, and make it easier to manage, especially if your hair is very fine or slippery.
- Two Mirrors (Optional but Recommended): A handheld mirror used in conjunction with a wall mirror allows you to see the back of your head clearly, which is crucial for intricate braids.
- Hair Clips or Clamps: Sectioning clips are invaluable for holding portions of your hair out of the way, ensuring clean, precise sections for braiding.
- Styling Products (Optional):
- Leave-in Conditioner or Detangling Spray: For extra smoothness and ease of combing.
- Mousse or Light Gel: Can add grip and control, particularly helpful for French or Dutch braids where you’re adding hair.
- Texturizing Spray: For added volume and a more “undone” or bohemian look after braiding.
- Hairspray: To set your finished braid and tame any lingering flyaways.
- Hair Serum or Oil: A tiny drop can add shine and smooth frizz after your braid is complete.
Having these items readily available will set you up for success and make your braiding experience much more frustration-free.
Step-by-Step Instructions
Mastering self-braiding begins with understanding the fundamental techniques. We’ll start with the classic three-strand braid, then progress to the more elaborate French and Dutch braids. Remember, patience and practice are your best friends!

1. Preparation for Any Braid
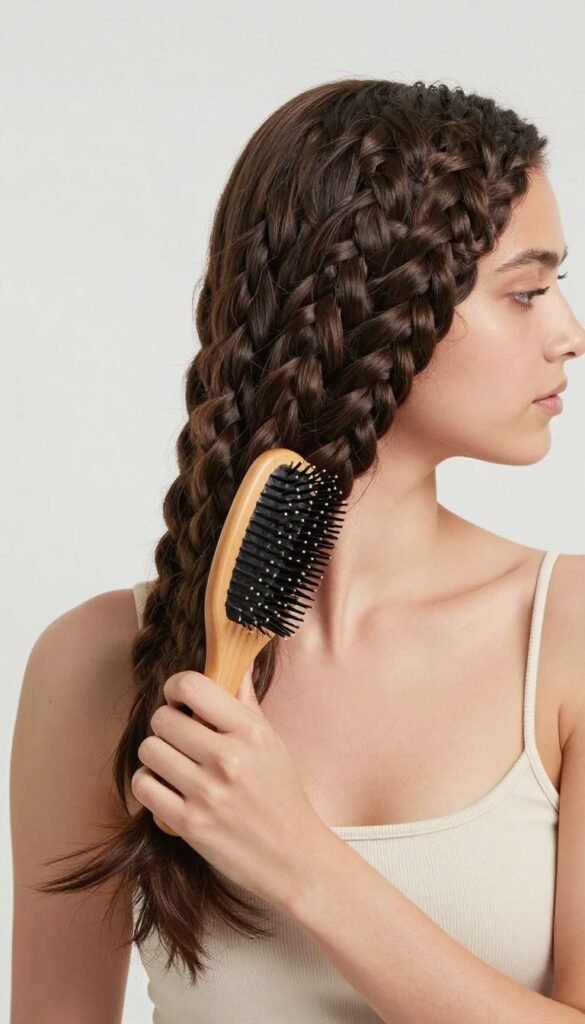
- Detangle Your Hair: Using your brush or wide-tooth comb, thoroughly detangle your hair from ends to roots. Any knots will make braiding difficult and can lead to uneven results.
- Lightly Dampen (Optional but Recommended): Spritz your hair lightly with water from your spray bottle. Hair that is slightly damp (not soaking wet) is often easier to control and less prone to flyaways.
- Apply Product (Optional): If desired, apply a small amount of leave-in conditioner, mousse, or light gel to add grip and smoothness. Distribute evenly from roots to ends.
2. The Classic Three-Strand Braid (The Foundation)
This is the simplest and most fundamental braid. Once you master this, you can apply the principle to more complex styles.

- Gather Your Hair: Decide where you want your braid to begin. For a simple ponytail braid, gather all your hair into a ponytail and secure it with a hair tie. For a side braid, bring all your hair over one shoulder.
- Divide into Three Equal Sections: Using your fingers, carefully separate the gathered hair into three equally sized strands. It’s crucial for these sections to be as even as possible for a balanced braid. Hold one strand in your left hand, one in your right, and let the middle strand hang free for a moment, or hold it gently with a finger.
- Begin Braiding – Right Over Middle: Take the strand from your right hand and cross it over the middle strand. The right strand now becomes the new middle strand, and the previous middle strand is now on the right.
- Continue Braiding – Left Over Middle: Now, take the strand from your left hand and cross it over the (new) middle strand. The left strand becomes the new middle, and the previous middle strand is now on the left.
- Repeat the Pattern: Continue alternating, always taking the outermost strand (first right, then left) and crossing it over the current middle strand. Maintain consistent tension with each cross-over to keep the braid tight and uniform.
- Braid to the End: Continue this “right over middle, left over middle” pattern until you reach the desired length, typically near the ends of your hair.
- Secure the Braid: Use a small hair elastic to secure the end of your braid.
- Refine (Optional): Gently tug on the loops of the braid to loosen it slightly for a fuller, softer look, or leave it tight for a sleek finish.
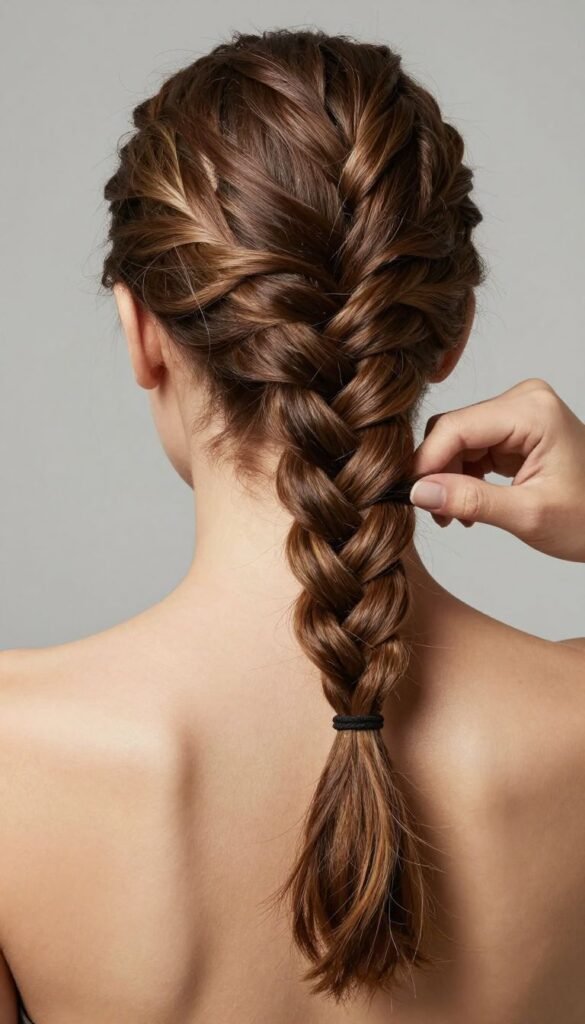
3. The French Braid (Adding Hair as You Go)
The French braid starts at the top of your head and incorporates sections of hair as you work your way down. It’s a beautiful, elegant style.

- Initial Sectioning: Using your fingers or the tail of a comb, grab a triangular section of hair from the very top of your head, near your hairline. The wider this section, the wider your braid will be.
- Divide the Initial Section: Divide this top section into three equal strands, just like you would for a classic three-strand braid. Hold them securely.
- Start the Braid (One Cross-Over): Perform one cross-over of a classic three-strand braid: take the rightmost strand and cross it over the middle. Then take the leftmost strand and cross it over the new middle. You’ve now completed one “row” of a regular braid.
- Add Hair to the Right Strand: Before crossing the rightmost strand over the middle again, use your free index finger to gather a small, even section of hair from the right side of your head, near your hairline. Add this new section of hair to your existing rightmost strand, combining them into one thicker strand.
- Cross Right Over Middle (with added hair): Now, take this combined, thicker right strand and cross it over the current middle strand. This combined strand now becomes the new middle.
- Add Hair to the Left Strand: Repeat the process on the left side. Gather a small, even section of hair from the left side of your head and combine it with your existing leftmost strand.
- Cross Left Over Middle (with added hair): Take this combined, thicker left strand and cross it over the current middle strand. This combined strand now becomes the new middle.
- Continue the Pattern: Continue this process:
- Take the outermost right strand, add a new section of hair from the right, then cross the combined strand over the middle.
- Take the outermost left strand, add a new section of hair from the left, then cross the combined strand over the middle.
Maintain consistent tension and try to add equal amounts of hair with each step to ensure a neat, even braid.
- Braid to the Nape: Continue adding hair from the sides as you work your way down the back of your head. Once you’ve incorporated all the loose hair from your scalp (usually around the nape of your neck), you’ll be left with three main strands.
- Finish with a Classic Braid: From this point, simply continue with a classic three-strand braid (right over middle, left over middle) until you reach the end of your hair.
- Secure and Refine: Secure the end with a hair elastic. Gently pull at the loops for a softer look, or leave it tight for a sleeker finish. Use hairspray for hold.
4. The Dutch Braid (The “Inside-Out” Braid)
The Dutch braid is often called an “inside-out” French braid because instead of crossing strands over the middle, you cross them under. This creates a raised, more prominent braid.

- Initial Sectioning: Just like the French braid, start by grabbing a triangular section of hair from the top of your head.
- Divide the Initial Section: Divide this top section into three equal strands.
- Start the Braid (One Cross-Under): Instead of crossing over, take the strand from your right hand and cross it under the middle strand. The right strand now becomes the new middle.
- Continue Braiding – Left Under Middle: Now, take the strand from your left hand and cross it under the (new) middle strand. The left strand becomes the new middle. You’ve completed one “row” of an inverted braid.
- Add Hair to the Right Strand: Before crossing the rightmost strand under the middle again, gather a small, even section of hair from the right side of your head and combine it with your existing rightmost strand.
- Cross Right Under Middle (with added hair): Take this combined, thicker right strand and cross it under the current middle strand. This combined strand now becomes the new middle.
- Add Hair to the Left Strand: Repeat on the left side. Gather a small, even section of hair from the left side and combine it with your existing leftmost strand.
- Cross Left Under Middle (with added hair): Take this combined, thicker left strand and cross it under the current middle strand. This combined strand now becomes the new middle.
- Continue the Pattern: Continue this “add hair, cross under” pattern, always taking the outermost strand, adding a new section of hair from that side, and then crossing the combined strand under the current middle strand.
- Braid to the Nape: Keep adding hair from the sides as you work your way down. Once all loose hair is incorporated, you’ll have three main strands.
- Finish with a Classic Under-Braid: Continue braiding by consistently crossing the outer strands under the middle strand until you reach the end of your hair.
- Secure and Refine: Secure the end with an elastic. Gently pull at the loops of the braid to make it appear thicker and more voluminous, enhancing the “popped out” effect. Finish with hairspray.
Pro Tips
Elevate your braiding game with these expert insights, designed to help you achieve neater, longer-lasting, and more beautiful results.

- Practice, Practice, Practice: This is the most crucial tip. Braiding your own hair takes muscle memory and coordination. Don’t get discouraged if your first few attempts aren’t perfect. Start with the classic three-strand, then move to French and Dutch. The more you practice, the faster and more skilled you’ll become.
- Master Your Mirror Setup: For braids at the back of your head, using two mirrors (one wall-mounted, one handheld) is a game-changer. Position yourself so you can clearly see the back of your head. This prevents guesswork and ensures even sections and placement.
- Maintain Consistent Tension: This is key to a neat and secure braid. If your tension is too loose, the braid will unravel or look messy. If it’s too tight, it can be uncomfortable and pull on your scalp. Aim for a firm, even pull with each cross-over or addition of hair.
- Work with Slightly Damp Hair and Product: Hair that is slightly damp or prepped with a light mousse or gel is often more pliable and easier to control. The product adds grip and reduces flyaways, making it easier to create clean sections and keep strands in place.
- Start with Smaller Sections for French/Dutch Braids: When beginning a French or Dutch braid, start with smaller initial sections and add smaller, more manageable pieces of hair. This gives you more control and allows for a more intricate, tighter braid at the top. Gradually increase the size of the added sections as you work your way down if you want a looser look.
- Use Your Fingers as Guides: When adding hair for French or Dutch braids, use your non-braiding hand’s pinky or index finger to create clean, horizontal sections of hair to add to your working strands. This ensures evenness and a polished finish.
Common Mistakes to Avoid
Even experienced braiders can fall into these traps. Being aware of common pitfalls will help you troubleshoot and improve your technique.
- Skipping the Detangling Step: Trying to braid tangled hair is a recipe for disaster. It leads to uneven sections, pulls on your scalp, and a messy, lumpy braid. Always brush or comb thoroughly first.
- Uneven Sectioning: Whether it’s the initial three strands or the sections you add for French/Dutch braids, uneven sections will result in a lopsided or inconsistent braid. Take your time to create uniform sections.
- Inconsistent Tension: As mentioned in the pro tips, varying tension throughout the braid will make it look messy, with some parts tight and others loose. Aim for a steady, firm grip from start to finish.
- Not Using a Mirror (or a Good Setup): Braiding the back of your head without a clear view is incredibly challenging. Invest in a good mirror setup to see what you’re doing, especially when learning.
- Rushing the Process: Braiding, especially intricate styles, takes time and precision. Don’t try to rush it, especially when you’re still learning. Slow down, focus on each step, and your results will be much better.
- Pulling Too Hard: While consistent tension is good, pulling too hard can cause discomfort, damage your hair, and lead to a headache. Find a balance that is firm but gentle.
- Forgetting to Add Hair for French/Dutch Braids: A common mistake for beginners is to forget to pick up new sections of hair. Remember the rhythm: cross, add, cross, add.
FAQ

Q1: How do I make my braid last longer?
A: To make your braid last, start with clean, dry or slightly damp hair. Applying a light hold mousse or styling cream before braiding can add grip. Ensure consistent, firm tension throughout the braid. Once finished, mist generously with a strong-hold hairspray. For overnight wear, consider sleeping on a silk pillowcase to reduce friction and frizz.

Q2: What if my hair is layered? Can I still braid it?
A: Yes, absolutely! Layered hair can actually add beautiful texture and volume to braids. The main challenge is that shorter layers might poke out. To combat this, use a light styling product (like a gel or pomade) to smooth down any flyaways as you braid. You can also use bobby pins to discreetly tuck in any stubborn layers once the braid is complete. Don’t be afraid to embrace a slightly messier, “boho” look, as it often works well with layers.

Q3: Can I braid wet hair?
A: While damp hair is often easier to braid, braiding hair that is soaking wet is generally not recommended. Wet hair is more fragile and prone to breakage when stretched and pulled. It also takes a very long time to dry when tightly braided, which can lead to scalp issues or a musty smell. If you prefer to braid with wet hair, ensure it’s at least 60-70% dry before you start.

Q4: How do I make my braids look thicker and fuller?
A: To achieve a thicker, more voluminous braid, try these tricks:
- Pancaking: Once your braid is secured, gently tug on the outer loops of the braid, starting from the bottom and working your way up. This “pancaking” technique loosens the braid and spreads out the hair, making it appear wider and fuller.
- Texturizing Products: Before braiding, apply a volumizing mousse or texturizing spray to your hair. This adds grit and body, making your hair less slippery and easier to expand.
- Dutch Braids: Dutch braids naturally pop out from the head, giving an immediate impression of more volume compared to French braids.
- Backcombing (Teasing): For a truly voluminous look, lightly backcomb the sections of hair before you begin braiding.
Conclusion
Congratulations! You’ve just embarked on a journey to master the art of braiding your own hair. From the foundational classic three-strand to the elegant French and striking Dutch braids, you now have the step-by-step knowledge to create a variety of stunning looks. Remember, the key to success lies in patience, consistent practice, and a willingness to experiment. Don’t be disheartened by initial struggles; every perfect braid starts with a few imperfect attempts.

With the right tools, a clear understanding of the techniques, and the valuable pro tips and common mistakes to avoid, you are well-equipped to transform your hair. Embrace the process, enjoy the creative outlet, and revel in the satisfaction of crafting beautiful styles with your own hands. The world of self-braiding is vast and exciting, offering endless possibilities for personal expression. So grab your comb, find your mirrors, and start braiding your way to confidence and captivating hair! Your next favorite hairstyle is just a few braids away.