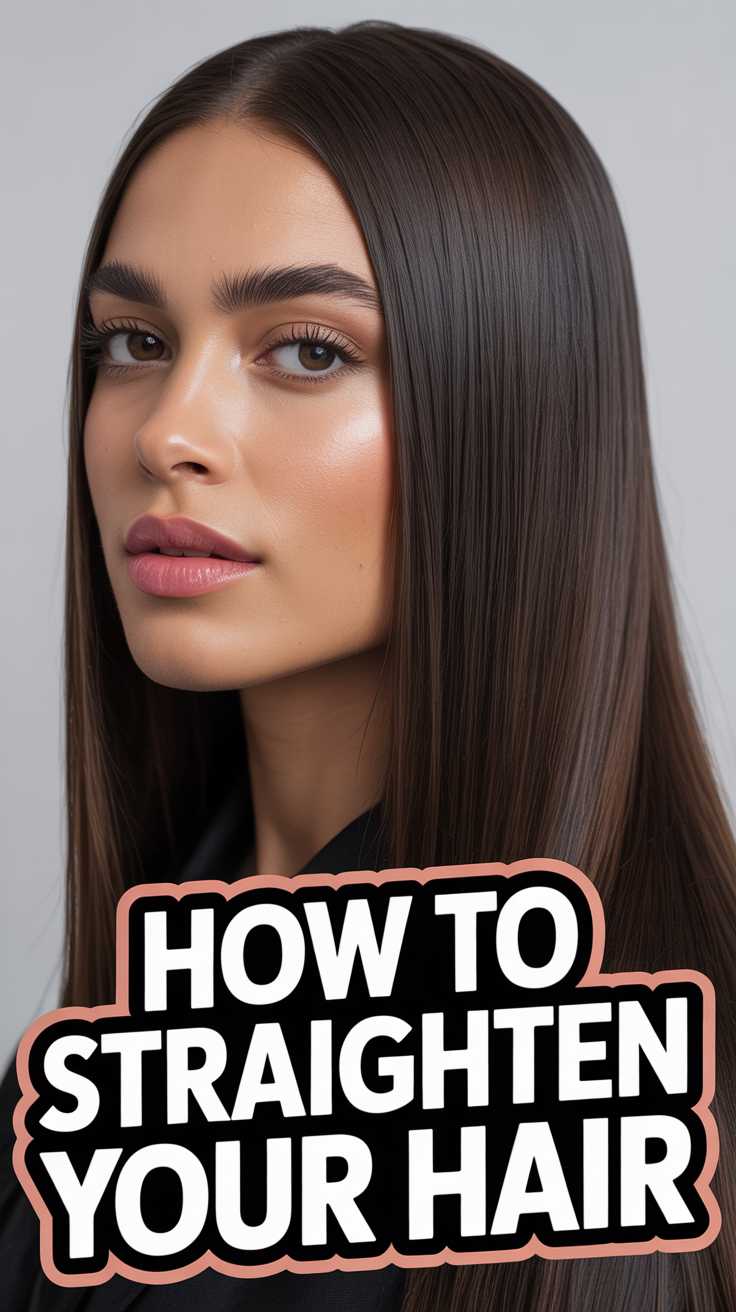
✨ How To Straighten Your Hair
Achieving sleek, smooth, and perfectly straight hair can transform your look, exuding confidence and elegance. Whether you’re aiming for a polished everyday style or a sophisticated look for a special occasion, mastering the art of hair straightening is a valuable skill. However, without the right technique and protective measures, you risk damaging your precious strands. This comprehensive guide is designed to equip you with all the knowledge and steps necessary to straighten your hair safely and effectively, ensuring a salon-quality finish right from the comfort of your home. We’ll walk you through everything from preparation and product selection to the actual straightening process and crucial aftercare, empowering you to achieve stunning results while prioritizing the health and vibrancy of your hair.

What You’ll Need
Before you begin your journey to perfectly straight hair, gathering the right tools and products is essential. High-quality items not only make the process easier but also significantly reduce the risk of heat damage and improve the longevity of your style. Here’s a detailed list of what you’ll need:
- Shampoo and Conditioner: Choose products suitable for your hair type, preferably those that offer moisturizing or smoothing benefits to prepare your hair for heat styling.
- Microfiber Towel: A microfiber towel is gentler on your hair than a regular cotton towel, reducing friction and minimizing frizz as you dry.
- Leave-In Conditioner (Optional but Recommended): Provides an extra layer of moisture and detangling, making your hair more manageable.
- Heat Protectant Spray or Serum: This is a non-negotiable item. A good heat protectant forms a barrier between your hair and the heat, significantly reducing thermal damage. Look for formulas that offer protection up to 450°F (230°C).
- Hair Dryer with Nozzle Attachment: A good quality blow dryer with a concentrator nozzle helps direct airflow, smoothing the hair cuticle and making it easier to dry your hair straight.
- Paddle Brush or Round Brush: Essential for blow-drying your hair smoothly. A paddle brush is great for general detangling and straightening, while a round brush can add volume if desired.
- Flat Iron (Hair Straightener):
- Plates: Look for ceramic, tourmaline, or titanium plates. Ceramic offers even heat distribution, tourmaline adds shine and reduces frizz, and titanium heats up quickly and maintains high, consistent heat, ideal for thick or coarse hair.
- Adjustable Temperature Settings: Crucial for tailoring the heat to your hair type.
- Size: A 1-inch to 1.5-inch plate size is versatile for most hair lengths and types.
- Hair Clips or Sectioning Clips: These are vital for dividing your hair into manageable sections, ensuring even straightening.
- Fine-Tooth Comb or Rat-Tail Comb: Used for creating precise sections and for combing through each section before straightening to ensure smoothness.
- Finishing Serum or Oil (e.g., Argan Oil, Silicone-Based Serum): Applied after straightening to add shine, tame flyaways, and provide a polished finish.
- Heat-Resistant Mat or Surface: To protect your countertops from the hot flat iron.
Step-by-Step Instructions
Follow these detailed steps carefully to achieve beautifully straightened hair while keeping it healthy and protected.
-
Step 1: Wash and Condition Your Hair Thoroughly
Start with clean hair. Wash your hair with a shampoo and conditioner appropriate for your hair type. If your hair is prone to frizz, consider using a smoothing or hydrating shampoo and conditioner. Clean hair ensures there’s no product buildup that could burn or create uneven results when heat is applied. Conditioning is crucial as it infuses moisture, making your hair softer, smoother, and more resilient to heat.
- Tip: Rinse your hair with cool water for the last minute. This helps to close the hair cuticles, enhancing shine and reducing frizz.
-
Step 2: Gently Towel Dry Your Hair
After washing, gently squeeze out excess water from your hair. Wrap your hair in a microfiber towel and pat it dry, rather than rubbing vigorously. Rubbing can create friction, leading to frizz and tangles. The goal is to remove most of the water, leaving your hair damp but not dripping wet. This step prepares your hair for the next stage of drying and product application.
-
Step 3: Apply Leave-In Conditioner and Heat Protectant
While your hair is still damp, apply a small amount of leave-in conditioner, focusing on the mid-lengths and ends. This provides extra moisture and detangling benefits. Immediately follow with a generous amount of heat protectant spray or serum. Distribute it evenly throughout your hair, from roots to ends. Heat protectant creates a thermal barrier that minimizes damage from the high heat of your blow dryer and flat iron. Do not skip this step – it is the single most important defense against heat damage.
- Tip: Comb through your hair with a wide-tooth comb after applying products to ensure even distribution and to detangle any knots.
-
Step 4: Blow Dry Your Hair Completely Straight
Using your hair dryer set to a medium heat and medium speed, begin blow-drying your hair. Attach the concentrator nozzle to direct the airflow. Work in sections, using a paddle brush or a round brush to pull your hair taut and smooth as you dry. Point the nozzle downwards, following the brush, to smooth the hair cuticles and reduce frizz. Ensure your hair is 100% dry before moving on to the flat iron. Straightening even slightly damp hair with a flat iron can cause severe damage, leading to sizzling, breakage, and steam burns.
- Technique: For maximum smoothness, use the “tension method” where you pull each section taut with your brush while directing the dryer’s airflow down the hair shaft.
-
Step 5: Section Your Hair for Easier Straightening
Once your hair is completely dry, use your fine-tooth comb and sectioning clips to divide your hair into manageable parts. For most hair types and lengths, four main sections (top, bottom, left side, right side) are a good starting point. You can further subdivide these into smaller working sections as you go. The thinner the sections, the easier it will be to achieve perfectly straight results with fewer passes of the flat iron. Pin up all sections except for the very bottom layer of hair at the nape of your neck.
-
Step 6: Set Your Flat Iron Temperature
Plug in your flat iron and allow it to heat up fully. It’s crucial to select the correct temperature for your hair type:
- Fine, damaged, or chemically treated hair: 250-300°F (120-150°C)
- Normal, medium, or healthy hair: 300-375°F (150-190°C)
- Thick, coarse, or naturally curly hair: 375-410°F (190-210°C)
Never exceed 410°F (210°C) as this can cause irreversible damage to any hair type. Start with a lower temperature and increase it only if necessary to achieve the desired results. Patience is key here.
-
Step 7: Begin Straightening from the Bottom Sections
Unclip a small, thin section of hair (about 1-inch wide and half an inch thick) from your bottom layer. Use your fine-tooth comb to comb through this section, ensuring it’s completely detangled and smooth. Place the flat iron as close to the roots as possible without touching your scalp. Gently clamp down on the hair, applying light, even pressure. Slowly and steadily glide the flat iron down the entire length of the hair strand, from roots to ends, in a single, fluid motion.
- Key Technique: Move slowly enough that the heat can work effectively, but not so slowly that you burn your hair. One slow pass is better than multiple fast passes.
-
Step 8: Work Through All Remaining Sections
Once you’ve straightened one section, release it and move on to the next small section in the same layer. Continue this process, unclipping and straightening small, thin sections of hair, working your way up from the bottom layers to the top layers of your head. Ensure each section is thoroughly straightened before moving to the next. Take your time, and remember that consistent, even passes yield the best results.
-
Step 9: Review and Refine
After you’ve straightened all your hair, do a quick check in the mirror. Look for any missed spots, especially around the back of your head or near the roots. If you find any, take small sections and go over them gently with the flat iron. Be careful not to over-straighten any area, as this can lead to excessive heat exposure.
-
Step 10: Apply a Finishing Product
To complete your look, dispense a dime-sized amount of finishing serum or oil into your palms. Rub your hands together and lightly smooth the product over your straightened hair, focusing on the mid-lengths and ends. This step adds incredible shine, tames any lingering flyaways, and provides a light hold, leaving your hair looking polished and feeling silky smooth. Avoid applying too much product, as it can weigh down your hair or make it look greasy.
Pro Tips
Elevate your straightening game and ensure the health of your hair with these expert tips:
- Invest in Quality Tools: A good quality flat iron with ceramic, tourmaline, or titanium plates and adjustable temperature settings is a worthwhile investment. Cheap irons often have inconsistent heat, leading to uneven results and increased damage.
- Always Use Heat Protectant: This cannot be stressed enough. Heat protectant acts as a crucial barrier, minimizing damage from high temperatures. Think of it as sunscreen for your hair.
- Never Straighten Wet or Damp Hair: This is a cardinal rule. Flat ironing wet hair can cause it to boil, leading to severe damage, breakage, and a distinct sizzling sound. Your hair must be 100% dry.
- Sectioning is Your Best Friend: Proper sectioning ensures that every strand gets adequate attention and heat, leading to uniform results and reducing the need for multiple passes on the same section.
- Clean Your Flat Iron Regularly: Product buildup on your flat iron plates can create sticky residue, pull on your hair, and cause uneven heat distribution. Wipe the plates with a damp cloth (when cool and unplugged) after every few uses.
- Consider a Heat-Resistant Glove: If you’re new to flat ironing or prone to burning your fingers, a heat-resistant glove can provide an extra layer of protection, allowing you to get closer to the roots safely.
- Deep Condition Regularly: Heat styling can be drying. Incorporate a weekly or bi-weekly deep conditioning treatment or hair mask into your routine to replenish moisture and repair any potential damage.
- Adjust Temperature to Hair Type: Don’t use the highest setting unless you have very thick, coarse, or resistant hair. Lower temperatures are always better for fine, damaged, or color-treated hair.
- Angle Your Flat Iron: For extra volume at the roots, pull the section of hair upwards and straighten. For a flatter, sleeker look, pull the section straight out or slightly downwards.
Common Mistakes to Avoid
Being aware of common pitfalls can save your hair from unnecessary damage and ensure a more successful straightening experience:
- Not Using Heat Protectant: This is the most common and damaging mistake. Without a thermal barrier, your hair is directly exposed to extreme heat, leading to dryness, brittleness, split ends, and breakage over time.
- Straightening Wet or Damp Hair: As mentioned, this is extremely harmful. The water on your hair boils instantly, causing severe internal and external damage to the hair shaft, akin to frying it.
- Using Too High a Temperature: While a higher temperature might seem faster, it can literally cook your hair, especially if it’s fine, damaged, or color-treated. Always use the lowest effective temperature.
- Taking Too Large Sections: Attempting to straighten large sections of hair at once means the heat won’t penetrate evenly, leading to uneven results and the need for multiple passes, increasing overall heat exposure.
- Going Too Fast or Too Many Passes: Rushing through sections means the heat doesn’t have enough time to work, forcing you to go over the same section multiple times. Conversely, lingering too long can burn the hair. Aim for one slow, steady pass per section.
- Pulling Hair Too Hard: Excessive tugging or pulling on your hair while straightening can cause stress on the follicles and lead to breakage, especially when combined with heat.
- Ignoring Hair Type and Condition: What works for thick, coarse hair will likely damage fine or chemically treated hair. Always tailor your products, temperature, and technique to your specific hair needs.
- Forgetting to Clean Your Flat Iron: Buildup on the plates can snag hair, create uneven heat, and even transfer old product onto clean strands.
FAQ
Here are answers to some frequently asked questions about hair straightening:
- Q1: How often can I straighten my hair without causing damage?
- A: It’s best to limit heat styling to 1-2 times a week. Frequent exposure to high heat, even with heat protectant, can eventually lead to dryness, breakage, and dullness. Give your hair breaks from heat and incorporate moisturizing treatments into your routine.
- Q2: What’s the best flat iron temperature for my hair type?
- A:
- Fine, damaged, or chemically treated hair: 250-300°F (120-150°C)
- Normal, medium, or healthy hair: 300-375°F (150-190°C)
- Thick, coarse, or naturally curly hair: 375-410°F (190-210°C)
Always start with the lowest effective temperature and increase only if absolutely necessary. Never exceed 410°F (210°C).
- Q3: Can I straighten my hair without heat?
- A: Yes, there are several heatless straightening methods, though they often don’t provide the same level of sleekness or longevity as heat styling. Options include hair wrapping, using large rollers, braiding, or applying smoothing creams and letting hair air dry in a specific way. Results vary greatly depending on hair type.
- Q4: How do I make my straightened hair last longer?
- A: To extend your straightened style:
- Ensure hair is 100% dry before straightening.
- Use a good quality flat iron and heat protectant.
- Sleep on a silk or satin pillowcase to reduce friction and frizz.
- Avoid humidity; use anti-humidity sprays.
- Tie your hair loosely in a high ponytail or bun overnight to prevent kinks.
- Minimize touching your hair, as oils from your hands can make it revert.
- Use dry shampoo to absorb oil and refresh roots.
Conclusion
Straightening your hair can be a rewarding way to achieve a sleek, polished look that boosts your confidence. By following this comprehensive guide, you now possess the knowledge and techniques to straighten your hair effectively, safely, and with a professional finish. Remember that the foundation of great style lies in healthy hair, so always prioritize proper preparation, the crucial use of heat protectant, and the selection of appropriate tools and temperatures for your hair type. Practice makes perfect, so don’t be discouraged if your first attempt isn’t flawless. With each styling session, you’ll become more adept, discovering what works best for your unique hair. Embrace the journey to beautiful, straight hair, and enjoy the feeling of looking and feeling your best!