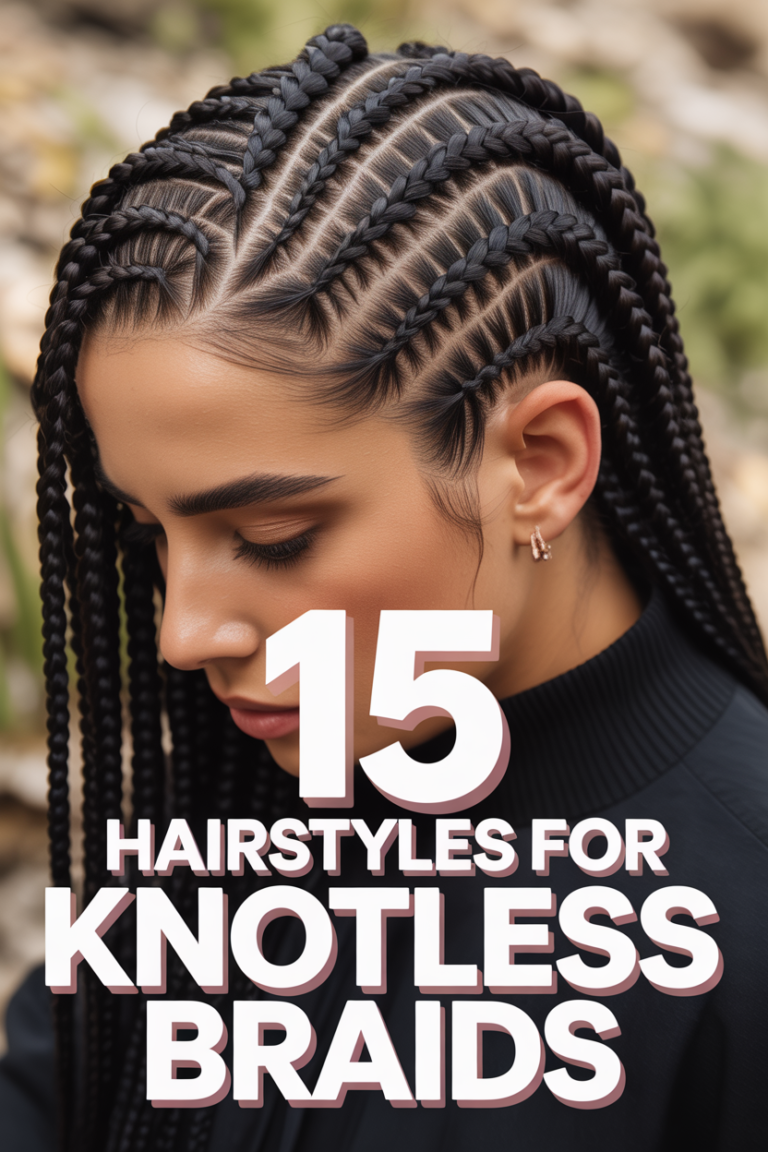
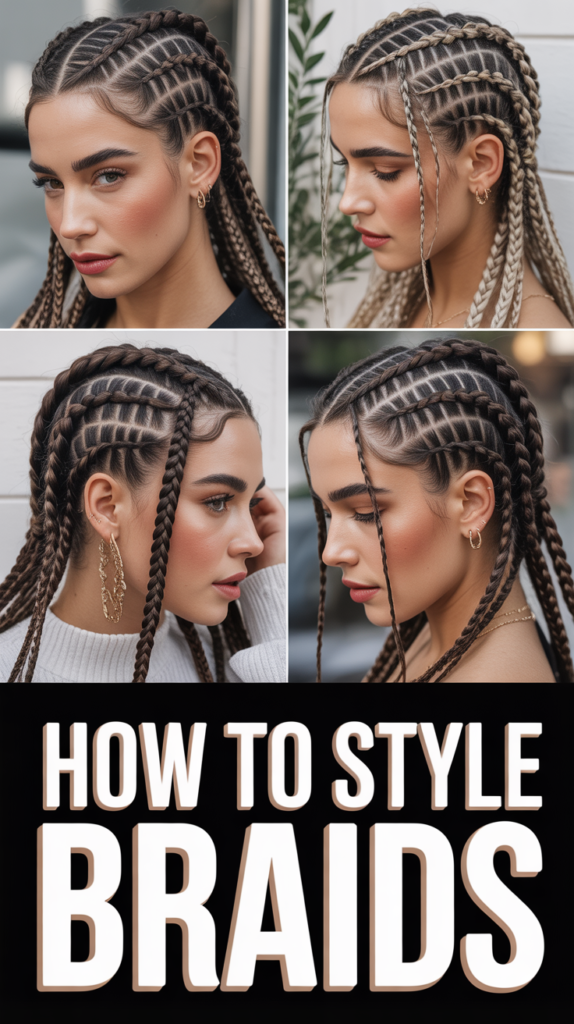
✨ How To Style Braids
💄 The Everyday Glamour Routine
You do not need to spend hundreds of dollars at Sephora to achieve a flawless, airbrushed finish. Professional makeup artists secretly rely on these 5 incredible, highly-rated viral drug store dupes and tools to create stunning looks that last all day.
✨ e.l.f. Power Grip Primer
The undisputed holy grail of primers that broke the internet. The unique gel-based formula literally 'grips' onto your foundation, blurring pores and completely preventing your makeup from melting off, creasing, or fading for up to 14 hours.
💧 Real Techniques Miracle Complexion Sponges
Stop applying liquid foundation with brushes that leave streaks. When used slightly damp, these ultra-soft, latex-free sponges seamlessly bounce liquid products into your skin for an incredibly natural, dewy, 'no-makeup' finish.
🖤 Maybelline Sky High Lengthening Mascara
You don't need expensive lash extensions. This wildly popular formula features a flexible tower brush that bends to volumize and extend every single tiny lash from root to tip without flaking, smudging, or weighing your eyes down.
🌟 L'Oreal True Match Lumi Glotion
The ultimate secret for that radiant 'glass skin' look. Use it alone for a sheer, healthy tint on no-makeup days, or mix a tiny drop into your foundation to instantly add an incredibly expensive-looking, natural luminosity to your face.
🌋 Revlon Oil-Absorbing Volcanic Roller
The modern replacement for messy blotting papers. Made from real volcanic stone, this tiny tool fits perfectly in your purse. Simply roll it across your T-zone to instantly absorb excess shine without messing up the makeup underneath.
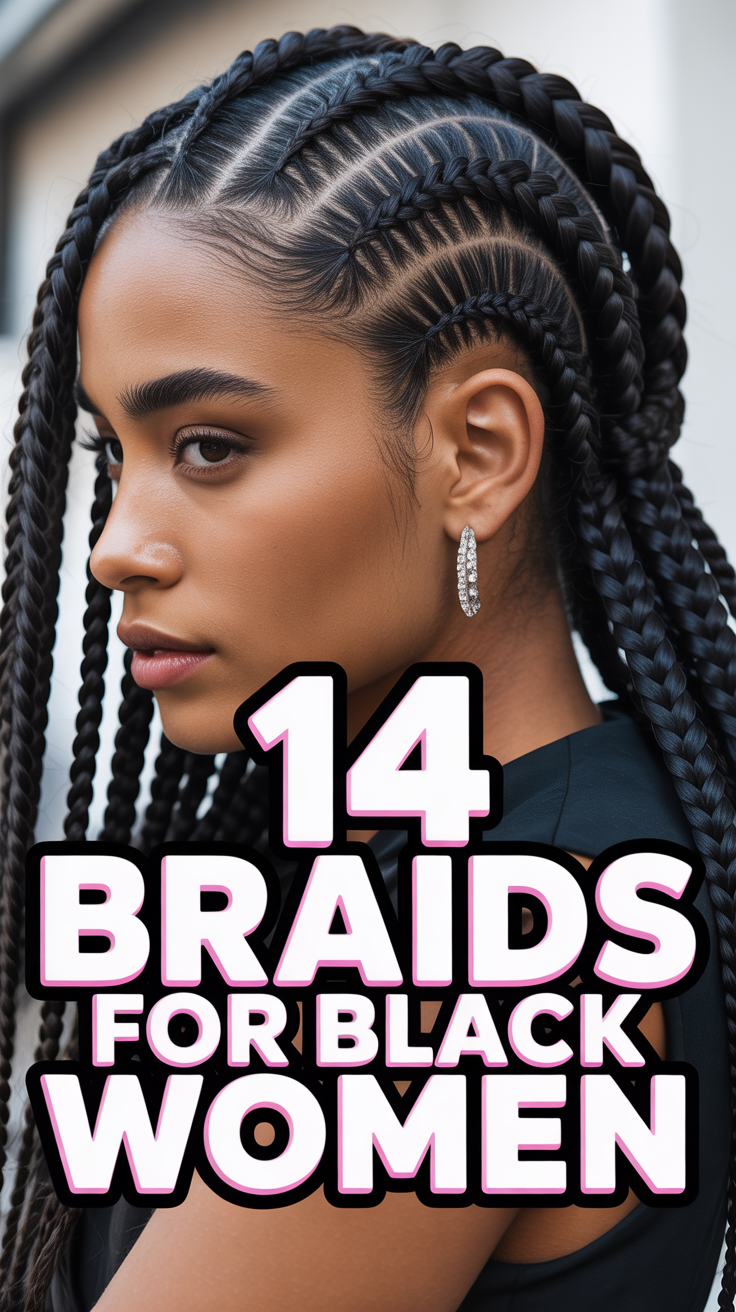
Braids are more than just a protective hairstyle; they are a canvas for self-expression, a testament to versatility, and a shield for your natural hair. Mastering the art of styling braids unlocks a world of creative possibilities, allowing you to transform your look from casual chic to red-carpet ready with ease. This comprehensive guide will empower you to elevate your braid game, ensuring your protective style always looks fresh, fashionable, and uniquely you.
Quick Overview
This guide will walk you through essential preparation, fundamental styling techniques, advanced creative approaches, and crucial maintenance tips to ensure your braided styles are always on point and your hair remains healthy. You’ll learn how to transform simple braids into stunning masterpieces suitable for any occasion.
Time needed: 30 minutes to 2 hours (depending on style complexity)
Difficulty: Beginner to Intermediate
* What you’ll need: Spray bottle with water, leave-in conditioner or braid spray, edge control, small elastic bands, hair clips, hair ties, silk scarf or bonnet, hair accessories (beads, cuffs, rings), strong hold hairspray (optional).
Step-by-Step Instructions
Step 1: Prep Your Braids for Styling
Before diving into styling, ensure your braids are clean, moisturized, and ready to be manipulated. This foundational step is crucial for both the longevity of your style and the health of your scalp. Start by lightly misting your braids and scalp with a water-based leave-in conditioner or a dedicated braid spray. This replenishes moisture, prevents dryness, and adds a healthy sheen. Pay particular attention to your scalp, gently massaging the product in to alleviate any tightness or itchiness. If your braids are older, you might want to consider a light cleanse of your scalp with a diluted astringent or witch hazel on a cotton swab to remove buildup without saturating the braids. Ensure your braids are completely dry before styling to prevent mildew and maintain their freshness.
Pro tip: For extra shine and to reduce frizz, apply a small amount of lightweight hair oil or mousse along the length of your braids, smoothing it down from root to tip. This also helps to tame flyaways and gives a polished finish.
Step 2: Gather Your Essential Tools
Having the right tools at your fingertips streamlines the styling process and ensures a professional finish. Before you begin, assemble everything you might need. This typically includes a fine-tooth comb or edge brush for laying edges, small elastic bands (preferably clear or matching your hair color), hair clips or pins for securing sections, hair ties for ponytails or buns, and any specific hair accessories you plan to use, such as beads, cuffs, or decorative rings. A handheld mirror can also be invaluable for checking the back of your head as you style. Ensure your products, like edge control and hairspray, are within easy reach. The more organized you are, the smoother and more enjoyable your styling experience will be.
Pro tip: Invest in high-quality, snag-free elastic bands to prevent damage to your braids. Avoid rubber bands, as they can cause friction and breakage.
Step 3: Master the Classic Ponytail or Bun
The ponytail and bun are foundational styles that are both practical and endlessly versatile. To create a sleek high ponytail, gather all your braids to the crown of your head, using a comb to smooth any bumps. Secure firmly with a strong hair tie. You can leave the ponytail hanging freely or twist it into a bun. For a bun, twist the ponytail around its base, shaping it into a neat coil, and secure with another hair tie or hairpins. For a half-up, half-down look, section the top portion of your hair from ear to ear, gather it into a ponytail or bun, and leave the remaining braids flowing down your back. Experiment with different heights – a low ponytail or bun offers a more sophisticated, understated look, while a high one exudes confidence and energy.
Pro tip: For a super sleek ponytail or bun, apply a generous amount of edge control around your hairline and use a fine-tooth comb or edge brush to smooth down baby hairs. Finish with a light mist of hairspray for extra hold.
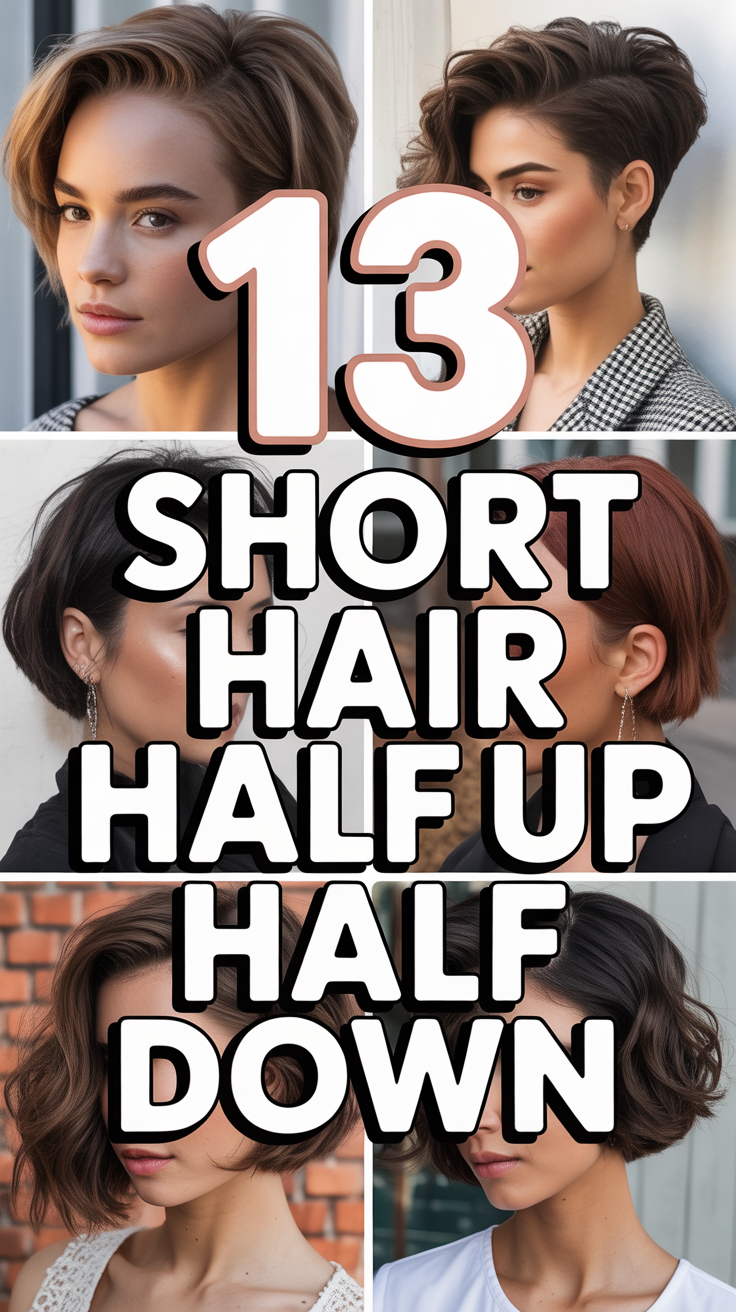
Step 4: Explore Half-Up, Half-Down Styles
Half-up, half-down styles offer the perfect balance between casual elegance and playful charm, making them suitable for almost any occasion. Start by dividing your braids horizontally, usually from ear to ear, separating the top section from the bottom. The top section can then be styled in numerous ways:
- Half-Up Ponytail: Simply gather the top section and secure it with a hair tie at your desired height.
- Half-Up Bun: Twist the top ponytail into a bun and secure it with pins or another hair tie.
- Half-Up Twist: Take a small section of braids from each temple, twist them backwards towards the center of your head, and secure them together with a small elastic or a decorative clip.
- Half-Up Braid: If your braids are small enough, you can even braid the top section into a small accent braid before securing it.
Leave the bottom section flowing freely to showcase the length and movement of your braids. This style is excellent for adding volume and framing your face.
Pro tip: To add a touch of glamour, incorporate hair cuffs or beads into the braids of the flowing bottom section, or use a decorative scrunchie for the half-up ponytail/bun.
Step 5: Create Elegant Updos and Crown Braids
For more formal events or when you simply want to keep your braids off your neck, updos and crown braids are sophisticated choices.
- Classic Updo: Gather all your braids at the nape of your neck, twist them upwards, and secure them tightly with pins, creating an elegant chignon or a voluminous bun. Alternatively, you can sweep all braids to one side, twist them into a low side bun, and secure.
- Crown Braid: This style involves creating a “braid” around your head using your existing braids. Start by sectioning your hair into two halves, front and back, or even four quadrants. Take small sections of braids from the front and begin wrapping them around your head, securing each section with pins as you go. You can create a single large “braid” effect or several smaller ones that intertwine. A simpler version involves pulling all braids into a high ponytail, then wrapping the ponytail around the base to form a large, voluminous bun that sits like a crown.
These styles require more pins and a bit more patience but offer stunning, long-lasting results.
Pro tip: Use a strong hold hairspray to keep every braid in place, especially around the perimeter of your updo, ensuring a sleek, polished look that lasts all day or night.
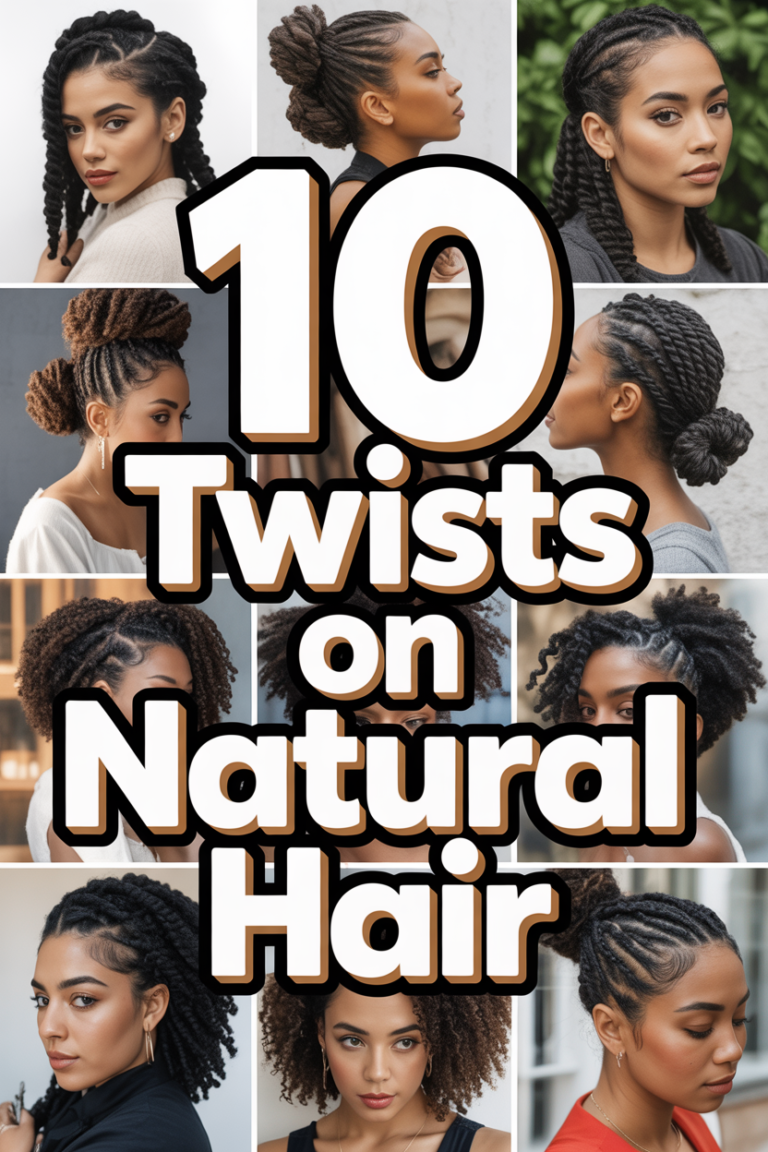
Step 6: Incorporate Twists and Braided Details
Elevate simple styles by adding intricate twists and braided details. Even with existing braids, you can create new textures and patterns.
- Two-Strand Twists: Take two sections of braids and twist them around each other. You can do this with sections of your ponytail, or create smaller twists along your hairline to frame your face.
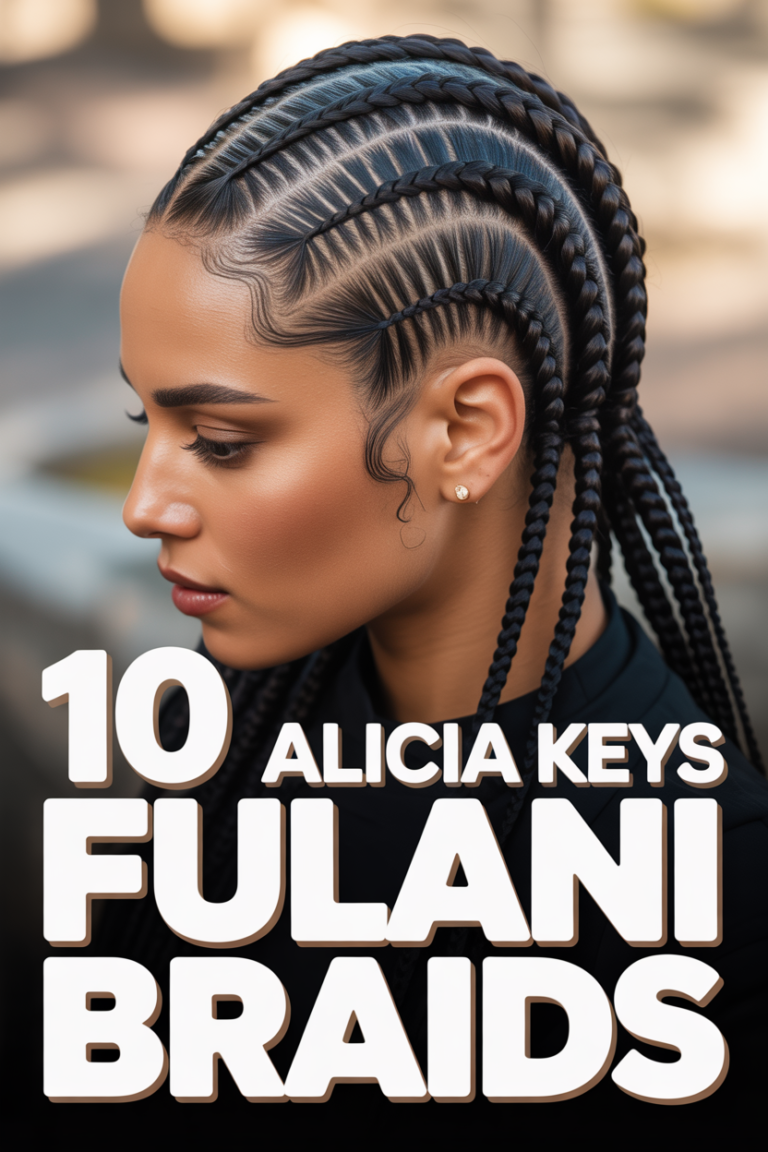
- Flat Twists: Similar to cornrows, flat twists involve twisting two sections of braids along your scalp. This can be used to create intricate patterns on the sides of your head, leading into a bun or ponytail.
- Accent Braids: Select a few individual braids and braid them together to create a larger, decorative braid within your style. This adds texture and visual interest.
- Intertwined Braids: When creating a bun or ponytail, instead of just wrapping, you can crisscross or intertwine sections of braids before securing them, creating a more complex look.
These details add a touch of artistry and make your style truly unique.
Pro tip: Before twisting or braiding sections, apply a small amount of styling mousse or gel to ensure a clean, defined look and to minimize frizz.
Step 7: Accessorize and Embellish Your Look
Accessories are the quickest and most effective way to personalize your braided styles and elevate them for any occasion.
- Hair Jewelry: Incorporate decorative cuffs, rings, and beads directly onto individual braids. These come in various metals, colors, and designs, allowing you to match them to your outfit or mood.
- Scarves and Headwraps: A silk or satin scarf can be woven into a bun, wrapped around a ponytail base, or tied as a stylish headwrap. This adds a pop of color, texture, and can also help protect your edges.
- Decorative Clips and Pins: Embellished clips, barrettes, or pearl-studded pins can be strategically placed to secure sections of hair or simply as decorative elements.
- Hats and Headbands: For a casual yet chic look, pair your braids with a stylish hat or a comfortable headband. This is also a great way to cover up if your roots are growing out.
Don’t be afraid to experiment with different accessories to find what complements your style and personality best.
Pro tip: When using heavier accessories like multiple beads, distribute them evenly across several braids to prevent putting too much tension on a single braid, which can lead to breakage.
Step 8: Set and Protect Your Style
The final step is to ensure your beautifully styled braids last as long as possible while keeping your hair healthy. Once your style is complete, lightly mist with a flexible-hold hairspray to tame any remaining flyaways and provide a subtle hold without making your braids stiff. Pay extra attention to your edges, using edge control and an edge brush to lay them perfectly. Before bed, always protect your style by covering your head with a silk or satin scarf or bonnet. This reduces friction, prevents frizz, and helps maintain the neatness of your braids, allowing your style to last longer and look fresh day after day.
Pro tip: To refresh your style in the morning, lightly mist your braids with a braid spray and gently smooth them down with your hands. Avoid excessive pulling or manipulation to preserve the integrity of your style.
Common Mistakes to Avoid
-
Pulling Braids Too Tight:
Why it’s problematic: Excessive tension on your scalp, especially around the hairline, can lead to traction alopecia – a type of hair loss caused by consistent pulling. It also causes discomfort, headaches, and can damage your hair follicles over time.
The correct approach: Always style with a gentle hand. If a style feels too tight or causes pain, loosen it immediately. Prioritize comfort and hair health over a super-snatched look. Focus on smoothing with edge control rather than extreme pulling.
-
Neglecting Scalp Care:
Why it’s problematic: A neglected scalp under braids can become dry, itchy, flaky, and prone to buildup. This creates an unhealthy environment for hair growth and can lead to discomfort and odors.
The correct approach: Regularly moisturize your scalp with a lightweight oil or braid spray. Gently cleanse your scalp between washes using an astringent or diluted shampoo on a cotton swab. Keep your scalp clean and hydrated to prevent irritation and promote healthy hair underneath.
-
Over-Product Usage:
Why it’s problematic: Applying too much gel, mousse, or oil can lead to product buildup, making your braids look greasy, dull, and attracting lint and dust. It can also clog pores on your scalp.
The correct approach: Use products sparingly. A pea-sized amount of edge control is usually sufficient for your hairline. Opt for lightweight, non-greasy formulas and focus on areas that need it most, like edges and the lengths of your braids for shine.
-
Not Protecting Braids at Night:
Why it’s problematic: Sleeping directly on your braids without protection causes friction against your pillowcase, leading to frizz, unraveling, and reduced longevity of your style. It also dries out your hair and scalp.
The correct approach: Always wrap your braids in a silk or satin scarf or wear a satin bonnet before going to bed. This minimizes friction, locks in moisture, and helps maintain the neatness and freshness of your style for longer.
Troubleshooting
-
Issue: Frizziness and Flyaways Around Edges
Solution: This is a common challenge, especially as braids age. Reapply a small amount of strong-hold edge control to your hairline. Use an edge brush or a clean toothbrush to gently smooth down baby hairs and flyaways. Follow up with a light mist of hairspray for extra hold. For overall frizz, a light application of styling mousse or braid spray, smoothed down the length of the braids, can help.
-
Issue: Scalp Dryness or Itchiness
Solution: Your scalp needs moisture! Use a spray bottle with a mix of water and a leave-in conditioner or a dedicated braid spray to mist your scalp. Gently massage a lightweight hair oil (like jojoba, peppermint, or tea tree oil) directly onto your scalp with your fingertips. Peppermint and tea tree oils also have soothing properties that can alleviate itchiness. If severe, consider a diluted apple cider vinegar rinse for your scalp.
-
Issue: Braids Feeling Stiff or Heavy
Solution: This can happen from product buildup or if the braids were installed too tightly. If due to products, try to gently cleanse your scalp with a diluted astringent on a cotton swab. If it’s tightness, gently massage your scalp to encourage blood flow and relieve tension. Avoid pulling your braids into very high or tight styles. Opt for looser, lower styles to give your scalp a break.
Key Takeaways
- Preparation is Key: Always start with moisturized and prepped braids for optimal styling.
- Gather Your Tools: Having all necessary items handy makes styling efficient and effective.
- Master the Basics: Ponytails and buns are versatile foundations for many looks.
- Experiment with Layers: Half-up styles offer a great blend of casual and chic.
- Elevate with Updos: Don’t shy away from elegant updos and crown braids for special occasions.
- Detail Matters: Incorporate twists and accent braids for unique texture and visual interest.
- Accessorize Wisely: Use hair jewelry, scarves, and clips to personalize and enhance your style.
- Protect Your Investment: Always use a silk or satin wrap at night to preserve your style and hair health.
- Listen to Your Hair: Avoid excessive tension and maintain consistent scalp care.
Frequently Asked Questions
Q: How often should I moisturize my braids?
A: Aim to lightly moisturize your braids and scalp every 2-3 days, or as needed, especially if your hair tends to be dry. Listen to your hair and scalp’s needs.
Q: Can I wash my hair while it’s in braids?
A: Yes, you can and should gently wash your scalp and braids to prevent buildup. Use a diluted shampoo, focusing on the scalp, and rinse thoroughly. Allow your braids to air dry completely to prevent mildew.
Q: What are the best products for styling braids?
A: Look for lightweight leave-in conditioners or braid sprays, non-flaking edge control, and a good quality, flexible-hold hairspray. For scalp care, a light oil like jojoba, peppermint, or tea tree oil is excellent.
Q: How do I prevent my edges from thinning while styling braids?
A: The most crucial step is to avoid pulling your edges too tightly when braiding or styling. Use edge control gently, and don’t apply excessive heat or tension. Regularly massage your edges with a nourishing oil to promote circulation and growth.
What’s Next?
Now that you’re equipped with the knowledge and techniques to style your braids like a pro, it’s time to put these steps into action! Start by experimenting with a simple half-up bun, then gradually work your way up to more intricate updos. Don’t be afraid to mix and match techniques or to let your creativity guide you. Explore different types of hair accessories and see how they can transform your look.
As you master these styling techniques, consider delving deeper into braid maintenance routines or exploring how to transition your hair smoothly once your braids are ready to come out. Remember, styling braids isn’t just about aesthetics; it’s about embracing versatility, protecting your natural hair, and expressing your unique self with confidence. Grab your tools, get inspired, and begin your journey to endless braided possibilities today!