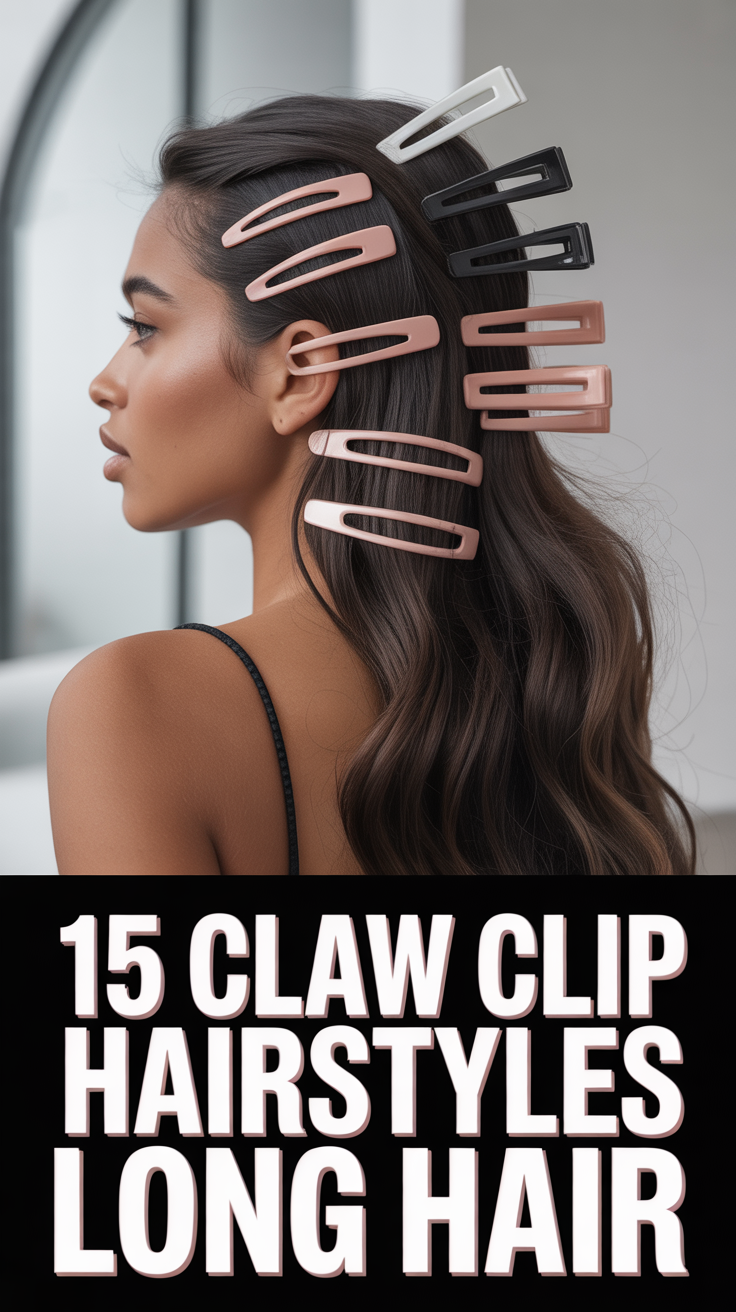
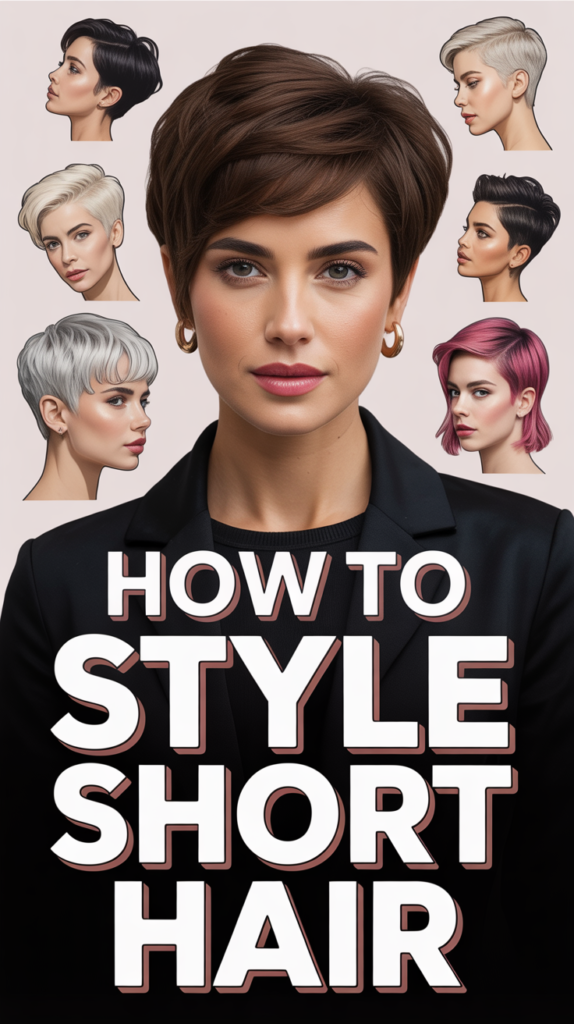
💇♀️ How To Style Short Hair
💄 The Everyday Glamour Routine
You do not need to spend hundreds of dollars at Sephora to achieve a flawless, airbrushed finish. Professional makeup artists secretly rely on these 5 incredible, highly-rated viral drug store dupes and tools to create stunning looks that last all day.
✨ e.l.f. Power Grip Primer
The undisputed holy grail of primers that broke the internet. The unique gel-based formula literally 'grips' onto your foundation, blurring pores and completely preventing your makeup from melting off, creasing, or fading for up to 14 hours.
💧 Real Techniques Miracle Complexion Sponges
Stop applying liquid foundation with brushes that leave streaks. When used slightly damp, these ultra-soft, latex-free sponges seamlessly bounce liquid products into your skin for an incredibly natural, dewy, 'no-makeup' finish.
🖤 Maybelline Sky High Lengthening Mascara
You don't need expensive lash extensions. This wildly popular formula features a flexible tower brush that bends to volumize and extend every single tiny lash from root to tip without flaking, smudging, or weighing your eyes down.
🌟 L'Oreal True Match Lumi Glotion
The ultimate secret for that radiant 'glass skin' look. Use it alone for a sheer, healthy tint on no-makeup days, or mix a tiny drop into your foundation to instantly add an incredibly expensive-looking, natural luminosity to your face.
🌋 Revlon Oil-Absorbing Volcanic Roller
The modern replacement for messy blotting papers. Made from real volcanic stone, this tiny tool fits perfectly in your purse. Simply roll it across your T-zone to instantly absorb excess shine without messing up the makeup underneath.
Short hair is a statement. It’s chic, bold, and incredibly versatile, offering a myriad of styling possibilities that defy the common misconception of limited options. Far from being a one-trick pony, a well-executed short cut can be transformed from sleek and sophisticated to edgy and playful with just a few simple techniques and the right products. If you’ve embraced the chop or are considering it, you’re in for a treat. Short hair is often easier to manage, quicker to style, and can highlight your facial features in a way longer hair simply can’t.
This comprehensive guide will demystify the art of styling short hair, providing you with the knowledge and confidence to create salon-worthy looks at home. We’ll walk you through the essential tools and products, foundational styling techniques, and specific instructions for popular short hairstyles. You’ll learn how to add volume, create texture, achieve a polished finish, and even tackle those “bad hair days” with ease. By the end of this article, you’ll be equipped to experiment with different looks, understand what works best for your hair type and cut, and truly unlock the full potential of your stunning short locks. Get ready to embrace the versatility and effortless elegance that comes with perfectly styled short hair!
What You’ll Need
Before diving into the styling process, ensure you have the right arsenal of tools and products at your disposal. Having these essentials on hand will make your styling routine smoother and more effective, allowing you to achieve a wider range of looks.
- Shampoo and Conditioner: Start with a clean slate. Choose formulas suited for your hair type (volumizing, moisturizing, color-safe).
- Towel: A microfiber towel can help reduce frizz by absorbing excess water gently.
- Heat Protectant Spray: Non-negotiable if you use heat tools. Protects strands from damage.
- Volumizing Mousse or Spray: Essential for adding lift and body, especially for finer hair.
- Texturizing Spray or Sea Salt Spray: Creates effortless, lived-in texture and definition.
- Hair Dryer: A good quality dryer with various heat and speed settings, preferably with a concentrator nozzle and/or diffuser attachment.
- Styling Brushes:
- Vent Brush: Ideal for rough drying and adding volume at the roots.
- Round Brush (small to medium): For creating volume, waves, and smoothing ends.
- Paddle Brush: For sleek, smooth finishes, especially on bobs.
- Clips or Sectioning Clips: To hold hair out of the way while styling.
- Flat Iron (small plates): For straightening, creating soft waves, or defining specific sections. Look for plates 1 inch or smaller for short hair.
- Curling Iron (small barrel, 0.5-1 inch): For tighter curls or defined waves.
- Styling Products (choose based on desired look):
- Pomade or Wax: For strong hold, definition, and a slightly shiny or matte finish.
- Styling Cream or Paste: Offers flexible hold, definition, and a natural finish.
- Gel: For a wet look, strong hold, or sculpted styles.
- Hairspray: Flexible hold for natural movement, or strong hold for lasting styles.
- Fine-Tooth Comb: For precise parting and smoothing.
Step-by-Step Instructions
Mastering short hair styling begins with a solid foundation. These steps will guide you through preparing your hair and then customizing your look for various popular short styles.
- Wash and Condition Your Hair:
Begin with freshly washed hair. Use a shampoo and conditioner appropriate for your hair type. Rinse thoroughly to ensure no product residue is left, which can weigh down short hair.
- Towel Dry Gently:
After washing, gently squeeze excess water from your hair with a microfiber towel. Avoid vigorous rubbing, as this can create frizz. Your hair should be damp, not dripping wet, before applying styling products.
- Apply Heat Protectant and Base Products:
If you plan to use any heat tools, always apply a heat protectant spray evenly throughout your damp hair. Follow with your chosen base product: a volumizing mousse or spray for added lift, a leave-in conditioner for moisture, or a root lifter for extra body. Distribute the product from roots to ends, focusing on areas where you want more volume.
- Rough Dry for Volume and Texture:
Using your hair dryer on a medium heat and speed setting, rough dry your hair until it’s about 70-80% dry. For maximum volume, flip your head upside down and direct the airflow to your roots, using your fingers to lift and tousle the hair. Alternatively, use a vent brush to lift sections at the roots as you dry. This step builds the foundation for body and movement.
- Section Your Hair (Optional, for detailed styling):
For more intricate styles or if you have thicker hair, use clips to section your hair. Start by dividing the hair horizontally from ear to ear, clipping up the top section. You can then work on the bottom layers first.
- Style According to Your Desired Look:
Now, let’s get into specific styling techniques for popular short haircuts:
A. The Textured Pixie or Crop
This look is all about playful definition and movement.
- Blow-Dry for Direction: Using a small round brush or your fingers, blow-dry sections of your hair in the direction you want them to lay. For a spiky look, dry upwards. For a softer, swept-forward style, dry forward and down. Concentrate on lifting the roots for volume.
- Add Texture: Once dry, take a small amount of texturizing paste, wax, or pomade (start with a pea-sized amount, you can always add more). Warm it between your palms. Work it through your hair, focusing on the ends and mid-lengths. Use your fingertips to pinch and twist small sections to create definition and separation.
- Finger Style: Use your fingers to tousle, lift, and shape your hair until you achieve your desired textured look. You can create messy spikes, a soft fringe, or a side-swept effect.
- Finish: If desired, lightly mist with a flexible-hold hairspray to keep the texture in place without stiffness.
B. Sleek & Polished Bob or Undercut Top
For a sophisticated, smooth finish.
- Smooth Blow-Dry: Using a paddle brush or a large round brush, blow-dry your hair section by section. Direct the nozzle down the hair shaft from root to tip, following with the brush to smooth out frizz and create shine. Pull the hair taut as you dry for maximum sleekness. If you have an undercut, ensure the longer top section is dried smoothly.
- Flat Iron (Optional for extra sleekness): If your hair is prone to frizz or you desire pin-straight results, use a small flat iron on dry hair. Take small sections and glide the iron from root to tip in one fluid motion. Ensure you’ve applied heat protectant beforehand.
- Apply Shine Serum or Oil: Dispense a tiny amount of shine serum or lightweight hair oil into your palms. Rub them together and lightly smooth over the surface of your hair to add gloss and tame any flyaways. Avoid the roots to prevent weighing down your hair.
- Part and Define: Use a fine-tooth comb to create a precise part (side or middle) or to smooth down the sides of an undercut. Tuck hair behind ears for a clean look, or leave it to frame your face.
- Set with Hairspray: Finish with a light mist of flexible or medium-hold hairspray to lock in the sleekness.
C. Voluminous & Wavy (Bobs, Lobs, Longer Pixies)
Adds movement, body, and a touch of glamour.
- Volumizing Blow-Dry: Use a medium round brush. Take sections of hair, place the brush at the roots, and lift upwards as you dry, directing heat to the roots for maximum volume. Curl the ends under or out slightly with the brush as you dry.
- Create Waves with an Iron: Once hair is completely dry, take 1-inch sections.
- Curling Iron: Wrap each section around a 0.75-1 inch curling iron, leaving the ends out for a more modern look. Hold for a few seconds, then release. Alternate the direction of the curls (towards and away from your face) for a natural, undone look.
- Flat Iron: Clamp a section of hair near the roots, rotate the flat iron 180 degrees, and slowly pull it down the hair shaft, rotating back and forth to create S-bend waves.
- Cool and Set: Let the curls cool completely before touching them. This helps them set and last longer.
- Break Up the Waves: Gently run your fingers through the waves or lightly brush with a wide-tooth comb to soften them and create a more natural, voluminous look. A sea salt spray or texturizing spray can enhance this effect.
- Hold: Finish with a flexible-hold hairspray to maintain the waves without making them stiff.
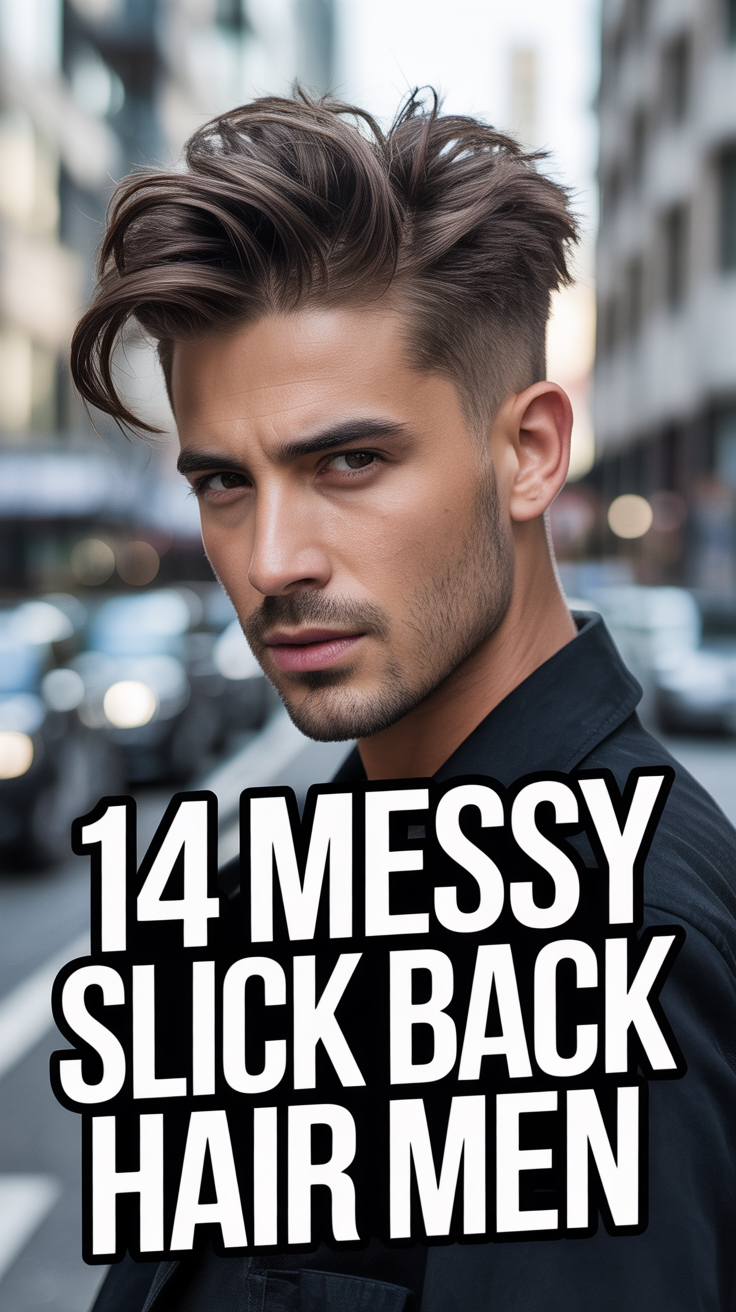
D. Edgy & Spiked (Faux Hawk, Textured Top)
For a bold, fashion-forward statement.
- Focus on Root Lift: After applying a volumizing product, blow-dry the top section of your hair upwards and forwards, using your fingers or a vent brush to lift the roots as much as possible. This creates the height needed for a spiked or faux hawk style.
- Apply Strong Hold Product: Take a generous amount of strong-hold pomade, wax, or gel. Emulsify it between your hands.
- Sculpt and Spike: Work the product through the top section of your hair, pushing it upwards and inwards to create the desired shape. Use your fingertips to define individual spikes or to create a textured, lifted crest. For the sides, either smooth them down with a comb and product or leave them naturally textured, depending on your cut.
- Refine and Set: Adjust and refine the shape until you’re happy with it. Finish with a strong-hold hairspray to ensure your edgy style lasts all day.
- Final Adjustments:
Once your hair is styled, step back and examine your look. Make any minor adjustments with your fingers or a comb. A quick spritz of hairspray can help set the style, or a touch of shine spray can add a finishing polish.
Pro Tips
Elevate your short hair styling game with these expert recommendations:
- Invest in Quality Tools and Products: Good quality heat tools (with ceramic or tourmaline plates) and professional-grade styling products make a significant difference in results and hair health. They heat more evenly, cause less damage, and provide better hold and finish.
- Less is More with Product: Especially for short hair, it’s easy to overdo it with styling products. Start with a tiny amount (pea-sized for creams/waxes, a light mist for sprays) and add more only if needed. Too much product can make short hair look greasy, stiff, or weighed down.
- Embrace Your Natural Texture: Don’t fight your hair’s natural texture. If you have waves, enhance them with texturizing sprays. If your hair is straight, lean into sleek styles. Working with your hair’s natural tendencies will make styling easier and more sustainable.
- Experiment with Your Part: A simple change in your hair part can dramatically alter your look. Try a deep side part for sophistication, a messy zig-zag part for playfulness, or a center part for a chic, symmetrical vibe. Don’t be afraid to switch it up!
- Regular Trims are Key: Short hair grows out quickly, and the shape can be lost. Regular trims (every 4-6 weeks) are essential to maintain the integrity of your cut and keep it looking fresh and stylish. A good cut is the foundation of good styling.
Common Mistakes to Avoid
Even with the best intentions, some common pitfalls can hinder your short hair styling success. Be mindful of these to keep your locks looking their best:
- Over-Using Heat Tools: Excessive heat can lead to dryness, breakage, and dullness. Always use a heat protectant, use the lowest effective heat setting, and avoid going over the same section multiple times. Air-dry when possible.
- Ignoring Your Hair Type and Cut: Not all products or styles suit every hair type or short cut. Using a heavy pomade on fine hair will weigh it down, just as a light mousse won’t hold thick, coarse hair. Understand your hair’s needs and the specifics of your haircut.
- Skipping Heat Protectant: This cannot be stressed enough. Even if you only use a blow dryer, heat can cause damage. A good heat protectant forms a barrier, minimizing the impact of thermal styling.
- Not Drying Hair Properly Before Heat Styling: Applying a flat iron or curling iron to damp hair will not only damage it but also produce steam that can cause frizz and an ineffective style. Always ensure hair is completely dry before using hot tools other than a blow dryer.
- Neglecting the Back and Sides: It’s easy to focus only on the front and top, but short hair means all angles are visible. Ensure the back and sides are just as well-styled and groomed as the front, especially if you have an intricate cut or an undercut.
FAQ
Here are answers to some frequently asked questions about styling short hair:
- Q: How often should I wash short hair?
A: It depends on your hair type and lifestyle. Generally, short hair can get greasy faster as oils from the scalp have less hair to travel down. Many people with short hair wash every 1-2 days. If your hair tends to be dry, you might stretch it to 2-3 days. Use a dry shampoo on non-wash days to refresh and add volume.
- Q: Can I really style short hair in many ways?
A: Absolutely! This is a common misconception. Short hair offers incredible versatility. You can go from sleek and sophisticated to messy and textured, add waves, create volume, or experiment with different parts and accessories. The key is knowing your cut, having the right products, and being open to experimentation.
- Q: What’s the best product for my short hair type?
A:
- Fine Hair: Volumizing mousse, lightweight texturizing spray, flexible hold hairspray.
- Thick/Coarse Hair: Styling creams, pomades for control, strong hold waxes, anti-frizz serums.
- Wavy/Curly Hair: Curl-enhancing creams, sea salt spray, light hold gels.
- Straight Hair: Shine serums, light pomades for definition, volumizing sprays.
- Q: How do I make my short hair look thicker or more voluminous?
A: Start with a volumizing shampoo and conditioner. Apply a root-lifting spray or mousse to damp hair. When blow-drying, flip your head upside down or use a vent brush to lift hair at the roots. A texturizing spray or powder can also add instant body and grip. Regular trims also ensure healthy, fuller-looking ends.
✨ The Ultimate Skin & Hair Care Kit
The best makeup in the world cannot hide poorly treated skin or damaged hair. If you want to glow from the inside out, these 5 science-backed formulations and trusted tools are the absolute essential core of any functional, results-driven beauty regimen.
🐌 COSRX Snail Mucin 96% Repair Essence
The Korean skincare secret that completely revolutionized Western beauty routines. Applying this deeply hydrating, lightweight essence absolutely transforms dull, textured skin overnight into a plump, hydrated, and insanely smooth canvas.
🧪 Paula's Choice 2% BHA Liquid Exfoliant
Stop aggressively scrubbing your face. This gentle, leave-on chemical exfoliant sinks deep into pores to dissolve blackheads, visibly shrink enlarged pore size, and effectively erase stubborn acne breakouts without leaving your skin red or irritated.
🩹 Mighty Patch Original Hydrocolloid Stickers
The ultimate emergency fix. When you feel a massive blemish forming, do not pop it! Stick one of these medical-grade patches on overnight and watch it completely absorb all the impurities while protecting the skin from scarring.
💨 Revlon One-Step Volumizer Hot Air Brush
Achieve a massive bouncy, salon-quality blowout at home in literally half the time. This ingenious tool dries, brushes, and heavily volumizes your hair all at once, completely saving your arms from the exhausting juggle of a round brush and heavy dryer.
💧 Olaplex No. 7 Bonding Hair Oil
If you use heat tools or color your hair, this is non-negotiable. This highly concentrated, weightless styling oil instantly tames frizz, dramatically increases shine, and actually repairs broken hair bonds while providing up to 450°F heat protection.
Conclusion
Styling short hair is an art form that, once mastered, opens up a world of confidence and creative expression. Far from limiting your options, a well-cut short style provides a canvas for endless possibilities, from edgy and bold to soft and elegant. By understanding your hair type, investing in the right tools and products, and practicing the techniques outlined in this guide, you can effortlessly achieve a variety of stunning looks right at home. Remember, the journey of styling short hair is all about experimentation and embracing your unique beauty. Don’t be afraid to try new things, play with textures, and discover the styles that make you feel your most fabulous. Your short hair is a testament to your style and spirit – wear it with pride and style it with confidence!