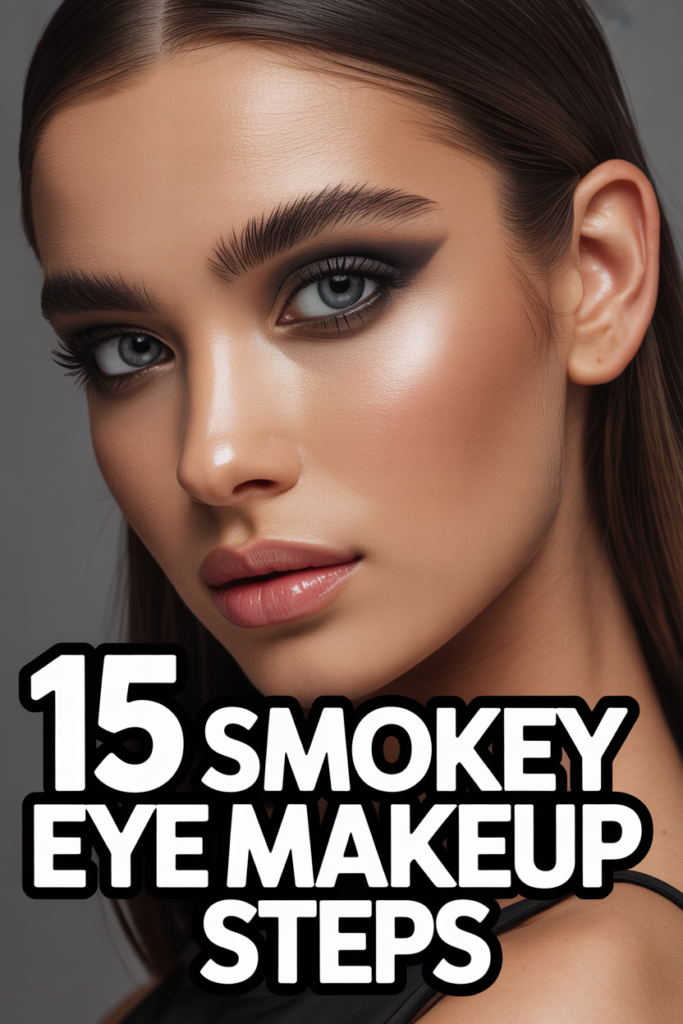
🌚 15 Smokey Eye Makeup Steps
💄 The Everyday Glamour Routine
You do not need to spend hundreds of dollars at Sephora to achieve a flawless, airbrushed finish. Professional makeup artists secretly rely on these 5 incredible, highly-rated viral drug store dupes and tools to create stunning looks that last all day.
✨ e.l.f. Power Grip Primer
The undisputed holy grail of primers that broke the internet. The unique gel-based formula literally 'grips' onto your foundation, blurring pores and completely preventing your makeup from melting off, creasing, or fading for up to 14 hours.
💧 Real Techniques Miracle Complexion Sponges
Stop applying liquid foundation with brushes that leave streaks. When used slightly damp, these ultra-soft, latex-free sponges seamlessly bounce liquid products into your skin for an incredibly natural, dewy, 'no-makeup' finish.
🖤 Maybelline Sky High Lengthening Mascara
You don't need expensive lash extensions. This wildly popular formula features a flexible tower brush that bends to volumize and extend every single tiny lash from root to tip without flaking, smudging, or weighing your eyes down.
🌟 L'Oreal True Match Lumi Glotion
The ultimate secret for that radiant 'glass skin' look. Use it alone for a sheer, healthy tint on no-makeup days, or mix a tiny drop into your foundation to instantly add an incredibly expensive-looking, natural luminosity to your face.
🌋 Revlon Oil-Absorbing Volcanic Roller
The modern replacement for messy blotting papers. Made from real volcanic stone, this tiny tool fits perfectly in your purse. Simply roll it across your T-zone to instantly absorb excess shine without messing up the makeup underneath.
Alright, gorgeous, ready to ditch the basic beige and unleash your inner mysterious siren? The smokey eye, often seen as the Everest of makeup looks, actually isn’t as scary as it seems. It’s less about perfection and more about that perfectly smudged, effortlessly cool vibe.
So, grab your brushes and your favorite dark shadows. We’re about to break down this iconic look into bite-sized, totally doable steps. No more looking like you got punched in the eye, promise. Just pure, unadulterated smolder.
1. Prep Your Canvas
First things first, let’s get that lid ready for its close-up. Think of this as laying down the perfect foundation for a masterpiece that won’t smudge before your first selfie.
Grab an eye primer and apply a thin layer all over your eyelid, from lash line to brow bone. This magical potion isn’t just for show; it seriously boosts your shadow’s staying power and prevents creasing. Pro tip: Let it get a little tacky before moving on to really grip that pigment. It makes all the difference for a look that lasts all night.
2. Gather Your Arsenal
Before we dive in, let’s make sure you’ve got the right tools for the job. You wouldn’t build a house with a spoon, right? Same energy here.
You’ll want a fluffy blending brush, a tapered crease brush, a flat shader brush, and a smudger brush. Don’t forget your favorite dark eyeshadows (black, deep brown, charcoal grey are classics) and a lighter transition shade. Pro tip: Clean brushes are happy brushes and blend way better. Trust us, your blending game will thank you.
3. Base Layer Bliss
Let’s set the stage with a neutral base. This step is like the calm before the storm, ensuring everything blends out smoothly later.
Using your fluffy blending brush, sweep a light, matte neutral eyeshadow (think bone, nude, or a shade close to your skin tone) all over your eyelid, up to your brow bone. This creates an even canvas and makes subsequent shadows easier to diffuse. It really helps prevent patchy application.
4. The Dark Horse Arrives
Now for the main event! This is where the smokey magic truly begins to take shape, so don’t be shy.
Pick up your darkest eyeshadow (a rich black or deep charcoal) on a flat shader brush. Press, don’t swipe, this color onto your eyelid, focusing on the outer two-thirds. Build up the intensity gradually. Pro tip: Tap off excess shadow from your brush to minimize fallout under your eyes. This ensures maximum pigment payoff right where you want it.
5. Blend It Like a Boss
This is where the ‘smokey’ part really comes alive. No harsh lines allowed, darling.
With your fluffy blending brush (clean or with very little product), start to blend the edges of that dark shadow in small, circular motions. Work your way slightly into the crease, softening any hard lines. Pro tip: Hold your brush at the very end for a lighter touch and better diffusion. It’s all about seamless transitions, making it look effortless.
6. Transition Time
Let’s add some depth and make that dark shadow look even more luxurious. This step is your secret weapon for a truly professional finish.
Grab a medium-toned shadow (a warm brown, grey, or plum works wonders) on your tapered crease brush. Apply this shade just above your darkest shadow, blending it into the crease and slightly upwards towards your brow bone. Pro tip: Use a windshield wiper motion for even distribution and seamless blending. This creates a beautiful gradient, making your eyes look super dimensional.
7. Lower Lash Line Love
Don’t neglect the bottom! A truly captivating smokey eye extends all the way around.
Using your smudger brush, take a little bit of your darkest shadow and gently smudge it along your lower lash line, connecting it to the outer corner of your upper lid. Then, pick up your transition shade and smudge it just below the dark shade to soften the look. Pro tip: Start with less product and build up to avoid looking like a raccoon. This adds balance and completes the sultry vibe.
8. Inner Corner Pop
Time to add a little sparkle and open up those peepers. It’s like a tiny spotlight for your eyes.
Dab a small amount of a shimmery, light eyeshadow (champagne, silver, or a pale gold) onto the inner corner of your eye using a small brush or your pinky finger. This instantly brightens and makes your eyes look more awake. Pro tip: A little goes a long way here; you want a highlight, not a disco ball. It’s the perfect touch of glam.
9. Brow Bone Brightener
Lift and define! A little highlight under your brow bone makes everything look polished and purposeful.
Apply a matte or slightly shimmery highlight shade (a shade lighter than your skin tone) directly under the arch of your brow. Blend it out softly with your finger or a small brush. Pro tip: Avoid anything too glittery here; we’re going for a subtle lift, not a rave. This gives your brow a beautiful lift and frames your eyes perfectly.
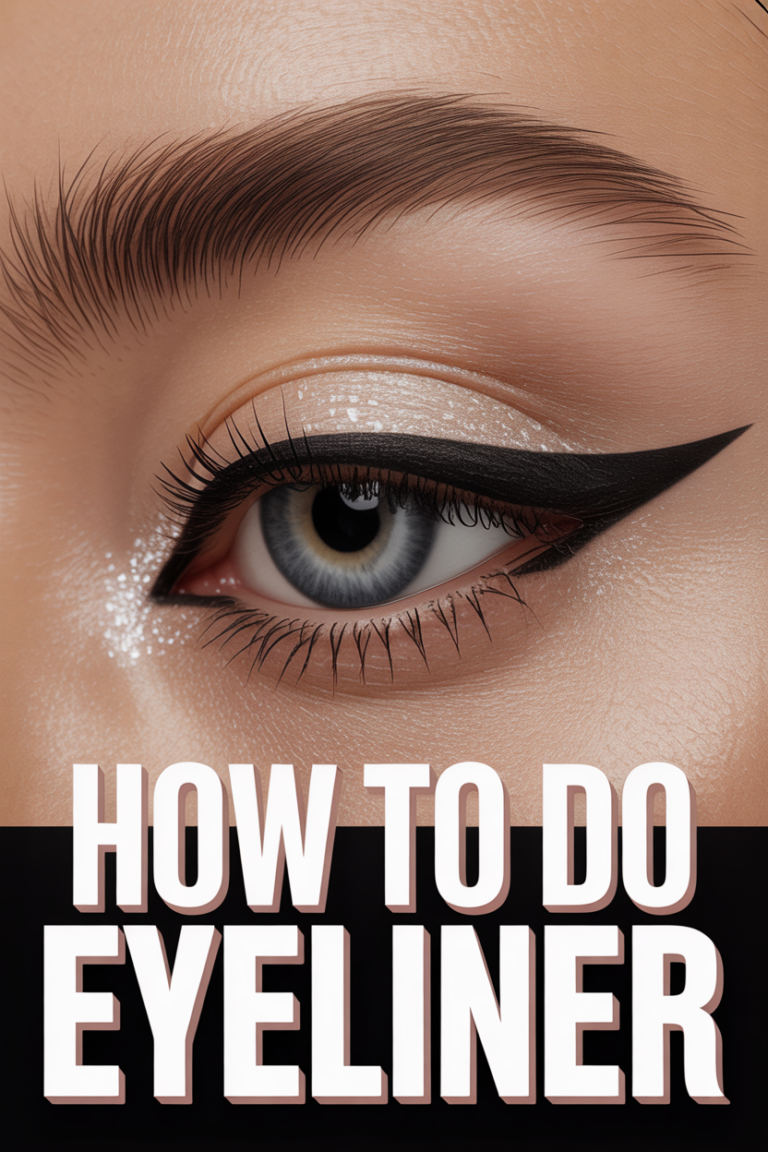
10. Liner Up
To deepen the intensity and define your lash line, a touch of liner is essential. It’s the final touch before lashes get their moment.
Apply a black kohl eyeliner to your upper waterline (tightlining) for extra depth. You can also add a thin line along your upper lash line, extending it slightly if you want a subtle wing. Pro tip: Gently lift your eyelid to get right into the lash line for a truly seamless look. This makes your lashes appear fuller and your eyes more defined.
11. Lash Out
No smokey eye is complete without dramatic lashes. Go big or go home, darling.
Curl your lashes and apply several generous coats of your favorite volumizing and lengthening mascara. Wiggle the wand from the base to the tips for maximum impact. Pro tip: Don’t be afraid to add a pair of false lashes for ultimate drama. They truly complete the look, making your eyes pop.
12. Clean Up Crew
Oops, a little fallout? No worries, we’ve got this. Perfection is overrated, but a clean finish isn’t.
If you have any eyeshadow fallout under your eyes, gently sweep it away with a clean, fluffy brush or use a piece of scotch tape to lightly dab it off. For stubborn smudges, a tiny bit of concealer on a cotton swab works wonders. Pro tip: Do your eye makeup before your foundation for easier cleanup. This ensures your under-eye area stays bright and flawless.
13. Setting the Stage
Lock it all in, buttercup! We want this masterpiece to last as long as your night out.
Lightly dust a tiny bit of translucent setting powder under your eyes and around the outer edges of your eyeshadow. This helps prevent creasing and keeps your shadows from fading. Pro tip: Use a very light hand; too much powder can make your eyes look dry. It’s the final invisible shield for your stunning creation.
14. Lip Service
Balance is key, my friend. With such a dramatic eye, your lips need to play a supporting role.
Opt for a nude or soft pink lipstick or gloss. A matte finish or a subtle sheen works best. You want your eyes to be the undeniable star of the show. Pro tip: If you crave a bold lip, save it for another day; a smokey eye and a vampy lip can sometimes compete. It keeps the focus exactly where it should be.
15. Confidence Boost
The most important step of all! You’ve slayed this look, now own it.
Take a moment, look in the mirror, and appreciate your handiwork. You just created a classic, sultry smokey eye. Your confidence is your best accessory, so wear it proudly. Pro tip: A quick hair flip or a dramatic pose can really seal the deal. You look absolutely incredible, now go show it off!
✨ The Ultimate Skin & Hair Care Kit
The best makeup in the world cannot hide poorly treated skin or damaged hair. If you want to glow from the inside out, these 5 science-backed formulations and trusted tools are the absolute essential core of any functional, results-driven beauty regimen.
🐌 COSRX Snail Mucin 96% Repair Essence
The Korean skincare secret that completely revolutionized Western beauty routines. Applying this deeply hydrating, lightweight essence absolutely transforms dull, textured skin overnight into a plump, hydrated, and insanely smooth canvas.
🧪 Paula's Choice 2% BHA Liquid Exfoliant
Stop aggressively scrubbing your face. This gentle, leave-on chemical exfoliant sinks deep into pores to dissolve blackheads, visibly shrink enlarged pore size, and effectively erase stubborn acne breakouts without leaving your skin red or irritated.
🩹 Mighty Patch Original Hydrocolloid Stickers
The ultimate emergency fix. When you feel a massive blemish forming, do not pop it! Stick one of these medical-grade patches on overnight and watch it completely absorb all the impurities while protecting the skin from scarring.
💨 Revlon One-Step Volumizer Hot Air Brush
Achieve a massive bouncy, salon-quality blowout at home in literally half the time. This ingenious tool dries, brushes, and heavily volumizes your hair all at once, completely saving your arms from the exhausting juggle of a round brush and heavy dryer.
💧 Olaplex No. 7 Bonding Hair Oil
If you use heat tools or color your hair, this is non-negotiable. This highly concentrated, weightless styling oil instantly tames frizz, dramatically increases shine, and actually repairs broken hair bonds while providing up to 450°F heat protection.
Conclusion
See? Not so terrifying after all, right? You’ve officially mastered the art of the smokey eye, transforming from makeup novice to absolute rockstar. It’s all about building, blending, and owning that smolder.
So next time you’re feeling a little extra, or just want to add a touch of mystery to your look, you know exactly what to do. Go forth and conquer, one perfectly smudged eye at a time!